
Are you tired of throwing away empty cans? It seems like every time you reach for a drink, you end up with another metal container that’s destined for the recycling bin. But instead of tossing them aside, why not give them a second life? Upcycling cans is not just a fun way to get creative; it’s also a fantastic way to add unique charm to your space. Whether you’re a DIY enthusiast, a home decor lover, or simply looking for budget-friendly solutions, this post is for you!
If you love making things by hand and enjoy personalizing your living space, you’ll find these upcycling ideas truly inspiring. I’ve gathered ten incredible projects that show you how to transform ordinary cans into stylish and practical items. From rustic candle holders to beautiful herb planters, each idea is designed to be easy and fun. You’ll learn how to repurpose what you already have, saving money while making your home feel uniquely yours.
Get ready to dive into a world of creativity! You’ll walk away with practical tips and step-by-step guides for each project. Whether you’re looking to declutter your desk or brighten up your garden, these upcycling can ideas will help you create something special. So grab those empty cans, and let’s get started on transforming your space forever!
Key Takeaways
– Upcycling cans is a fun and eco-friendly way to create unique decor and practical items for your home.
– You’ll discover ten creative projects, including rustic candle holders and desk organizers, that can fit any space.
– Each project is designed to be simple and budget-friendly, making them perfect for DIY beginners and seasoned crafters alike.
– Practical tips and step-by-step guides will help you implement these ideas easily and effectively.
– Transforming everyday items like cans not only declutters your home but also adds a personal touch to your decor.
Contents
- 1. Rustic Candle Holders
- 2. Herb Planters
- 3. Wall Art Sculptures
- 4. DIY Storage Containers
- 5. Garden Edging
- 6. Desk Organizers
- 7. Bird Feeders
- 8. Toy Organizers
- 9. Unique Vases
- 10. Holiday Decorations
1. Rustic Candle Holders

Looking for a way to add a cozy vibe to your home? Upcycling empty cans into rustic candle holders is a fun and creative solution. You can personalize them in various colors and styles to match your décor. With just a few simple tools, you can easily turn your cans into charming holders that illuminate your space beautifully.
Begin by cleaning the cans and removing any labels. Use a hammer and a nail to punch holes in creative patterns. Once you have your design, paint the cans using matte or metallic shades to fit your style. Fill them with candles or fairy lights to create a warm, inviting atmosphere.
Key benefits of this project:
– Create affordable and eco-friendly lighting options.
– Customize designs to suit any occasion.
– Perfect for both indoor and outdoor settings.
Tips for your candle holders:
– Opt for tea lights for safety.
– Experiment with different paint colors and textures.
– Add twine or lace for extra rustic charm.
Supplies you’ll need:
– Empty cans
– Hammer and nail
– Paint (acrylic or spray)
– Candles or fairy lights
Steps to create your holders:
1. Clean the can and remove the label.
2. Use a hammer and nail to create holes in the can.
3. Paint the can in your chosen color.
4. Insert candles or fairy lights.
2. Herb Planters
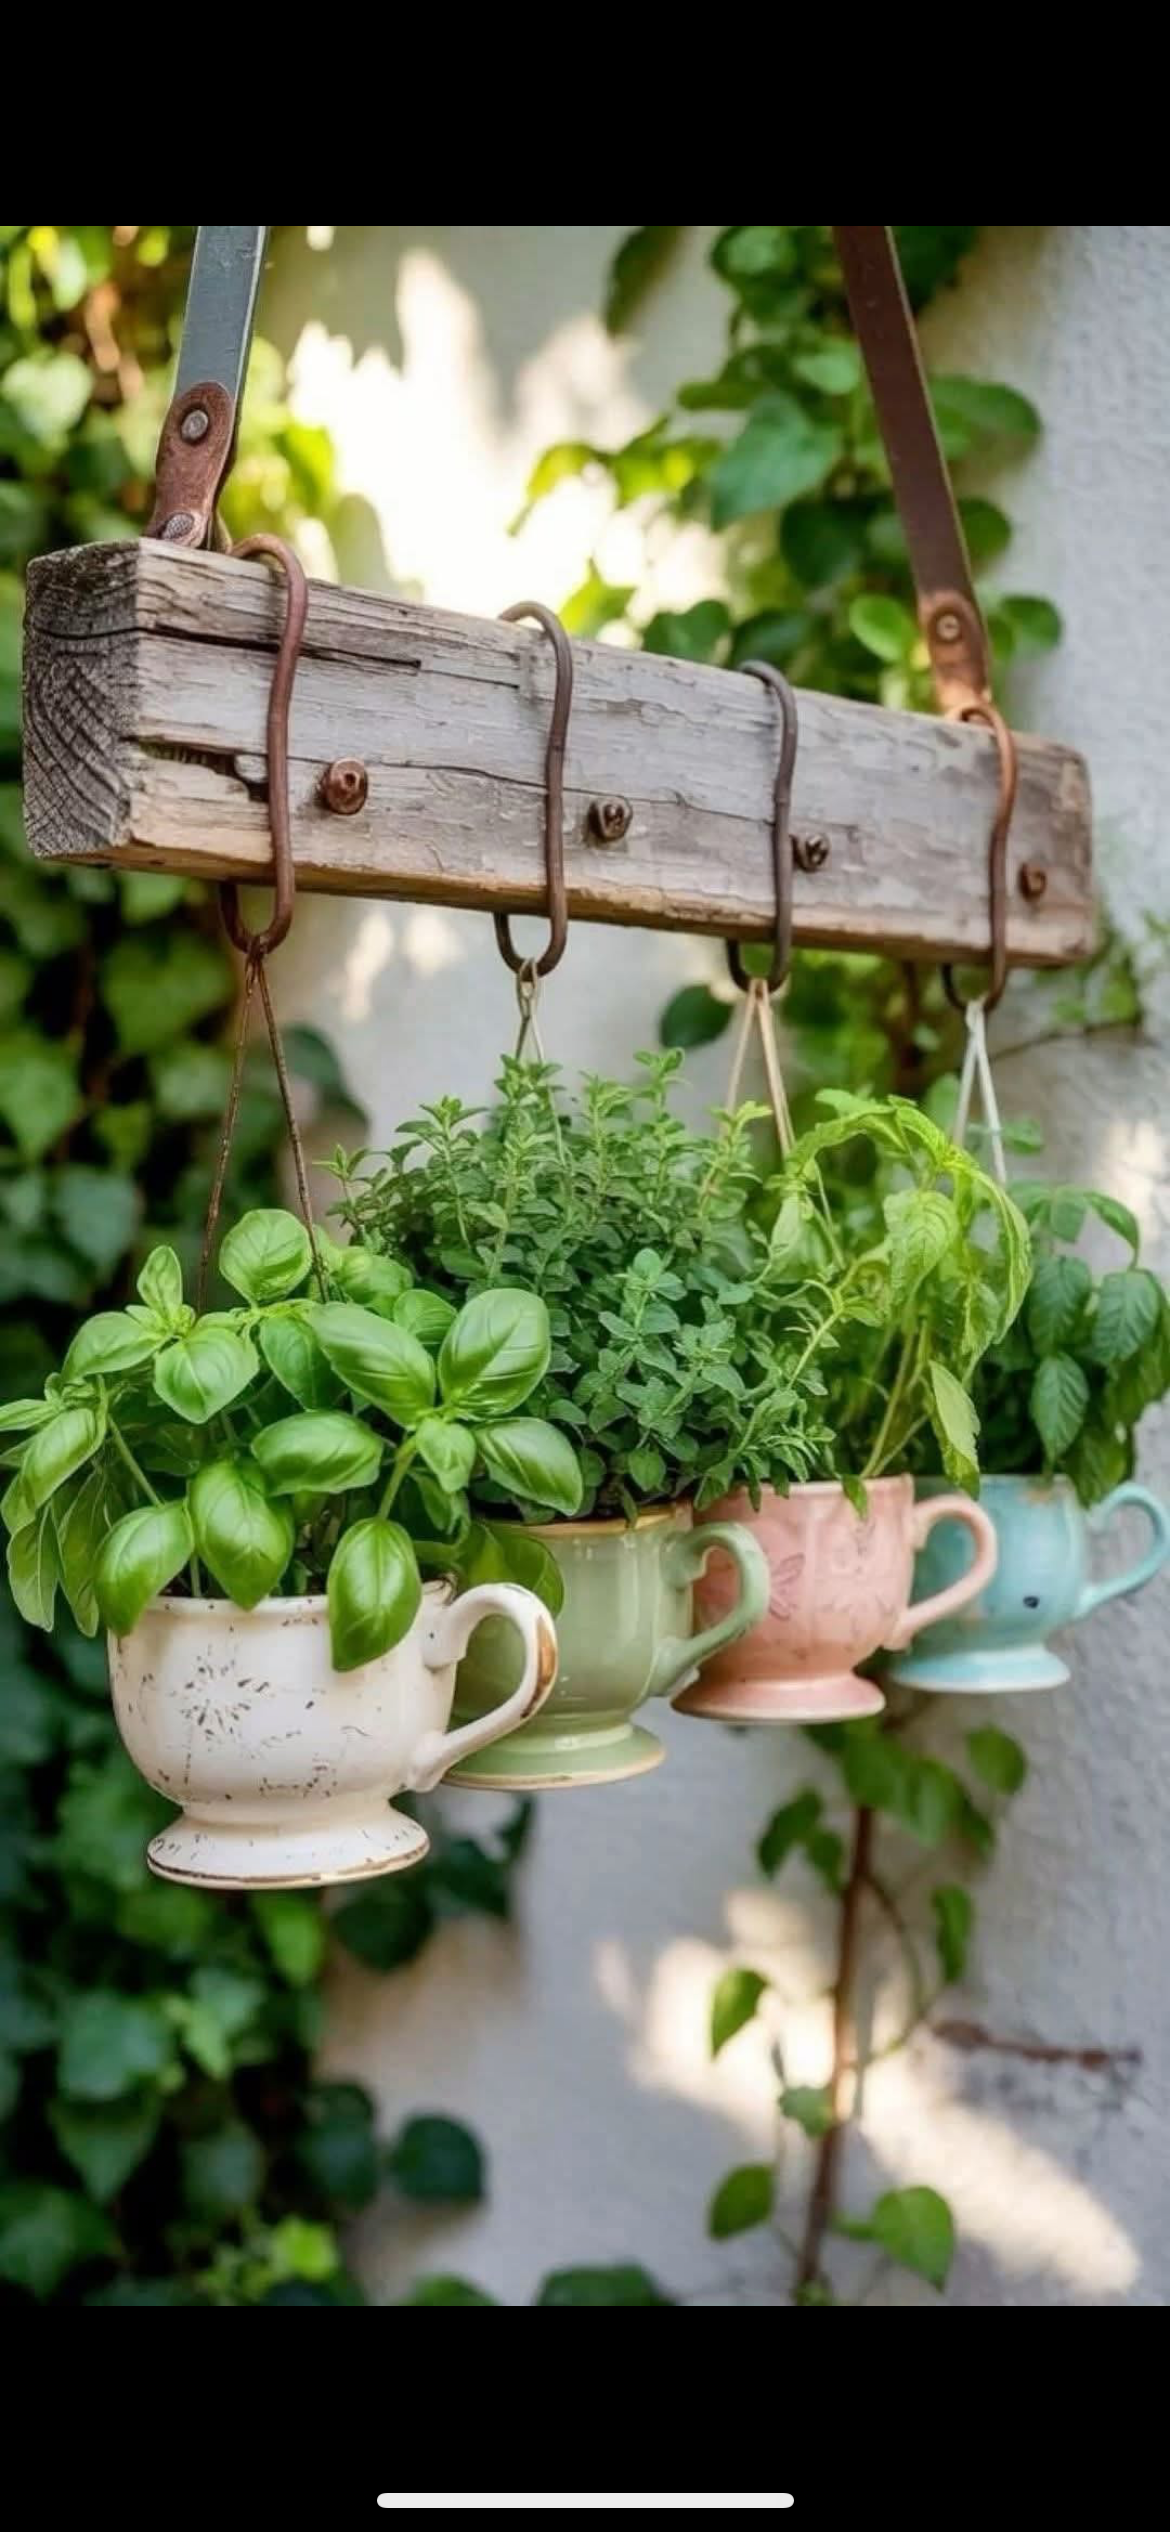
Want to grow your own herbs but lack space? Transforming cans into charming herb planters is both practical and rewarding. This project lets you enjoy fresh herbs right in your kitchen while adding a personal touch to your décor.
Start by cleaning your cans and drilling holes for drainage at the bottom. Decorate them for added style, then fill with potting soil and your favorite herbs. Position them on your kitchen windowsill for easy access while cooking!
Key benefits of these planters:
– Enjoy fresh herbs in your cooking.
– Add a personal touch to your kitchen decor.
– Low-maintenance and easy to care for.
Helpful tips:
– Choose herbs that grow well together, like basil and chives.
– Use a saucer to catch excess water.
– Label each can for easy identification.
Supplies you’ll need:
– Clean cans
– Potting soil
– Herbs (basil, mint, etc.)
– Paint or decorative materials
Steps to create your planters:
1. Make drainage holes at the bottom of the can.
2. Decorate the can as desired.
3. Fill with soil and plant herbs.
4. Water and enjoy your garden!
Image credit: Joanne Meadows on Pinterest
How To Choose The Right Cans for Upcycling
When it comes to upcycling cans, picking the right ones can make all the difference in your DIY crafts. Here are some key criteria to consider when selecting the perfect cans for your projects:
1. Size Matters
Consider the size of the cans based on your project’s needs. Standard soda cans are great for small projects like candle holders or desk organizers. Larger cans, such as those for soup or beans, can be used for herb planters or storage containers. Think about where you will place your finished project and choose sizes that fit well in those spaces.
2. Material Type
Most cans are made of aluminum or tin plated steel. Aluminum cans are lighter and easier to cut, making them ideal for decorative projects. Tin cans, on the other hand, are sturdier and work well for items that require more durability, like garden edging. Make sure to check if the can has a smooth finish or if it has any sharp edges after cutting.
3. Condition of the Can
Always inspect the cans for any dents, rust, or damage. A can in good condition will give a better finish to your projects. If possible, choose cans that are clean and free of sticky labels. This will save you time during your prep work, as you won’t have to worry about removing residue.
4. Design and Color
Consider the design or color of the cans. Some cans come with unique patterns or vibrant colors that can add to the aesthetic of your project. If you’re aiming for a rustic or vintage look, you might prefer plain cans that can easily be painted or decorated. Decide what style fits your vision before you start crafting.
5. Quantity
Think about how many cans you will need for your project. If you’re creating something large, like a wall art sculpture, you may need multiple cans. Check your recycling bin or local stores for bulk options. Having enough materials will ensure you don’t have to stop in the middle of your project.
6. Safety Considerations
Safety is key when working with upcycled cans. Check for sharp edges after cutting, and consider using gloves during your crafting process. If you plan to use cans for items that will hold food or plants, ensure they are free from harmful chemicals. Rinse them thoroughly and consider using food-safe sealants if needed.
Pro Tip: If you’re unsure about the look of your finished product, try a small test run with a few different cans. This way, you can see how they cut, paint, and hold up before committing to a larger project. Happy crafting!
3. Wall Art Sculptures
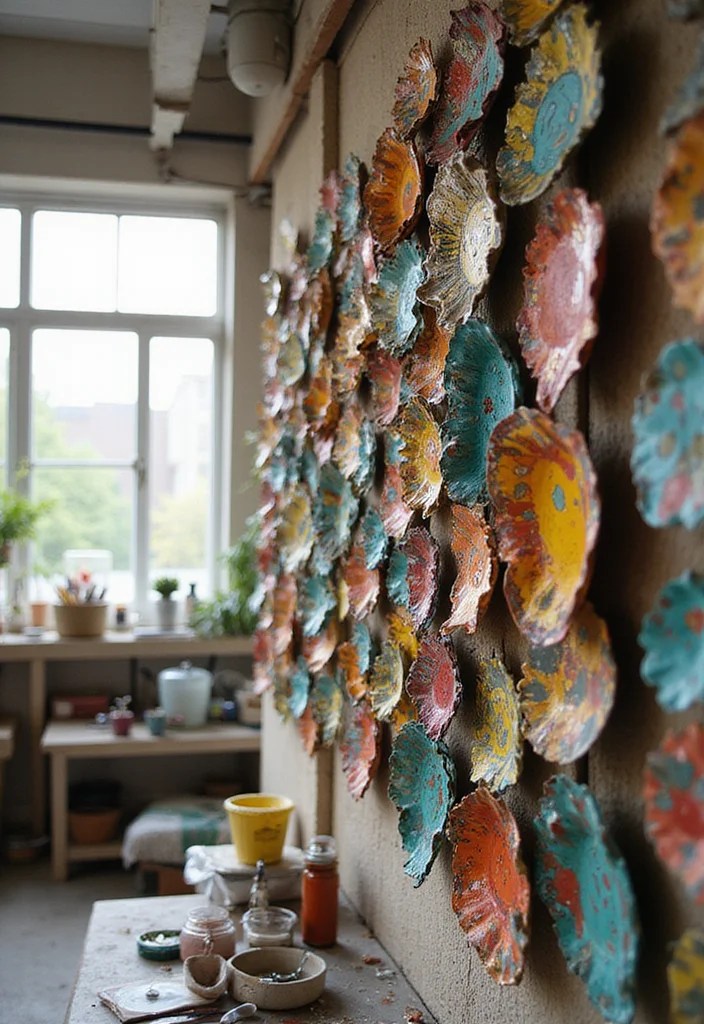
Looking to spruce up your home decor? Create stunning wall art sculptures from upcycled cans! This project allows you to unleash your creativity while turning trash into treasure.
Cut the cans into various shapes and sizes to craft unique three-dimensional pieces. You can choose to paint them or keep the metallic look for an industrial touch. This is a fantastic project for art lovers wanting to make an eye-catching statement on a budget.
Key benefits of this project:
– Create unique and personalized decor.
– Serve as a great conversation starter.
– Showcase your creativity in a fun way.
Tips to enhance your sculptures:
– Wear gloves while cutting the cans for safety.
– Mix different colors and textures for added dimension.
– Consider adding LED lights for an illuminated effect.
Supplies you’ll need:
– Clean cans
– Scissors or tin snips
– Paint or decorative materials
– Adhesive for mounting
Steps to create your sculptures:
1. Carefully cut the cans into desired shapes.
2. Paint or decorate the shapes.
3. Arrange and glue shapes onto a backing board.
4. Mount on your wall to display.
4. DIY Storage Containers

Ready to declutter your space? Stylish DIY storage containers made from upcycled cans can help you keep everything organized. These containers add a pop of color to your room and can hold anything from pens to kitchen utensils.
Start by cleaning your cans and then decorating them to match your style. Whether you choose to paint or wrap them in fabric, these containers are as functional as they are fun!
Key benefits of this project:
– Affordable storage solutions.
– Can be customized to fit any room theme.
– Reduces clutter while being eco-friendly.
Tips for your storage containers:
– Use contact paper or fabric for easy and stylish covers.
– Group different sizes together for a cohesive look.
– Consider labeling each container for organization.
Supplies you’ll need:
– Clean cans
– Paint or fabric
– Adhesive or glue
– Labels (optional)
Steps to create your containers:
1. Clean the cans thoroughly.
2. Decorate with paint or fabric.
3. Let dry completely before use.
4. Use them to organize your space!
Image credit: Marbella on Pinterest
Related Video: DIY Food Can Dispenser – with plans
5. Garden Edging
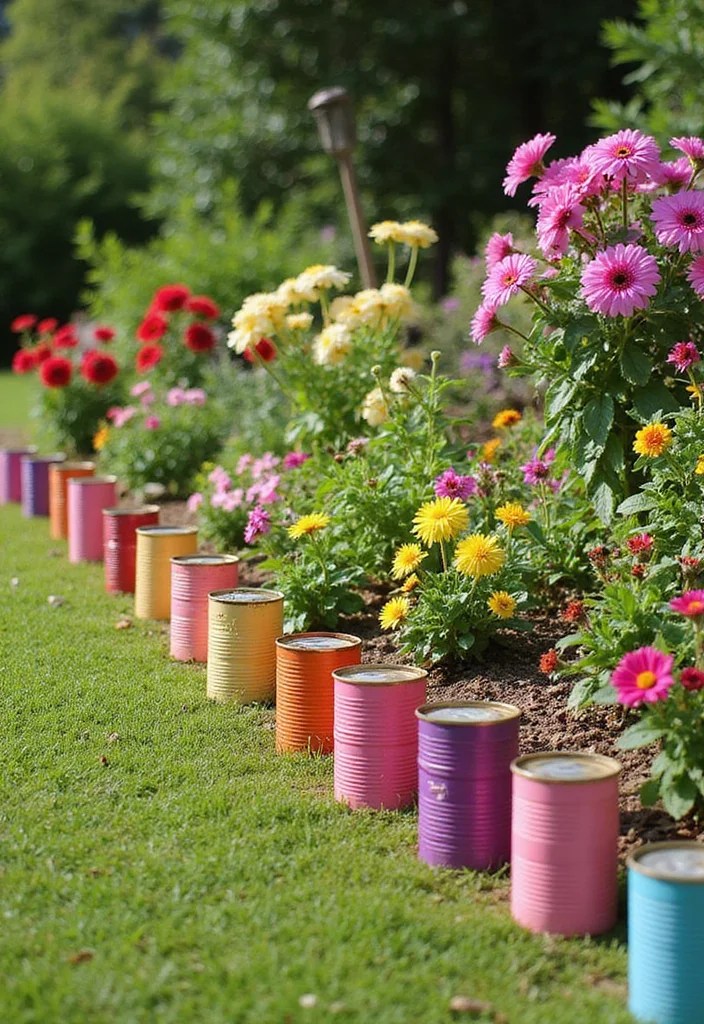
Looking to enhance your garden? Create unique garden edging with upcycled cans! This simple yet effective project adds character to your outdoor space while helping to contain plants.
Cut the tops off the cans and partially bury them in the ground for a decorative edge. You can paint them or leave them natural to achieve the rustic look you desire.
Key benefits of using cans for garden edging:
– An eco-friendly landscaping option.
– Affordable way to enhance your garden’s aesthetics.
– More durable than traditional edging.
Tips for your garden edging:
– Use a variety of can sizes for an eclectic look.
– Paint them in seasonal colors for a festive touch.
– Ensure the edges are smooth to avoid injuries.
Supplies you’ll need:
– Clean cans
– Paint (optional)
– Gardening tools (shovel, etc.)
Steps to create your garden edging:
1. Cut the tops off the cans.
2. Paint if desired and allow to dry.
3. Bury the cans in a decorative pattern along your garden.
4. Enjoy your new garden edging!
❝ Did you know that upcycling cans for garden edging can slash landscaping costs by up to 50%? Bury the cans halfway, paint for color, and you’ve got a durable, eco-friendly border that keeps plants contained and spaces looking unique. ❞
You might also like
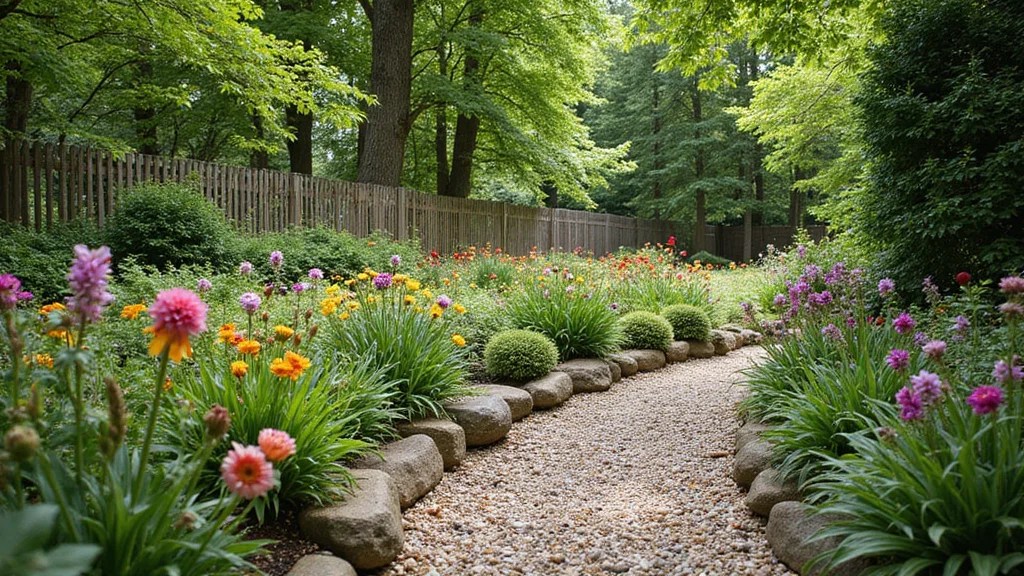
10 Stunning Garden Border Ideas That Will Transform Your Landscape!
10 Stunning Mosaic Garden Ideas That Will Transform Your Outdoor Space!
6. Desk Organizers

Want to tidy up your workspace? Chic desk organizers made from upcycled cans can help keep everything in order while adding a personal touch. This simple project is perfect for decluttering your desk and showcasing your unique style.
Start by cleaning and decorating the cans with paint or decorative tape. You can combine multiple cans into a single organizer for a creative solution to hold your essentials.
Key benefits of desk organizers:
– Keeps your workspace neat and organized.
– Personalizes your desk with DIY decor.
– Quick and easy to create.
Tips for your organizers:
– Group different sizes for a more dynamic look.
– Use a hot glue gun to attach cans together.
– Consider using fabric scraps for a softer look.
Supplies you’ll need:
– Clean cans
– Paint or decorative tape
– Hot glue gun (optional)
Steps to create your organizers:
1. Clean and dry the cans.
2. Decorate with paint or tape.
3. Arrange and glue together if desired.
4. Fill with desk supplies!
Fun fact: upcycling cans into desk organizers can cut clutter by 40% in a weekend. Just rinse, decorate, and stack a few to sort pens, brushes, and clips—your workspace will feel calmer and more creative.
7. Bird Feeders

Want to attract more wildlife to your backyard? Create charming bird feeders from upcycled cans! This enjoyable project not only helps local birds thrive but also adds a delightful touch to your outdoor space.
Begin by cleaning the cans and using a drill to make feeding holes. Attach a string or wire for easy hanging, then fill the cans with birdseed. You can decorate the exterior for added appeal and hang them in your garden or on your balcony for a lovely view!
Key benefits of making bird feeders:
– Supports local birds and wildlife.
– Simple to make and customize.
– Great activity for children.
Tips for your feeders:
– Make multiple feeders to attract various bird species.
– Use a mix of seeds for a variety of birds.
– Keep feeders clean to ensure bird health.
Supplies you’ll need:
– Clean cans
– Birdseed
– String or wire
– Paint (optional)
Steps to create your feeders:
1. Clean the cans and dry thoroughly.
2. Drill holes for feeding.
3. Attach string for hanging.
4. Fill with birdseed and hang outdoors.
Did you know upcycling cans into bird feeders can cut plastic waste in your backyard by 30%? A single can feeder can attract 5–8 visiting birds in a week. Start by cleaning, drilling feeding holes, and decorating for a lively garden view.
Image credit: Sandra Basílio | Decoração Aconchegante on Pinterest
8. Toy Organizers

Looking for a fun way to organize playtime? Create adorable toy organizers from upcycled cans! This project is perfect for children’s spaces, helping to sort toys and crafts in a playful manner.
Clean the cans and let kids decorate them in bright colors or with their favorite stickers. These organizers can hold anything from crayons to small toys, making cleanup easy and enjoyable!
Key benefits of toy organizers:
– Encourages kids to organize their toys.
– Fun and creative decor options.
– Affordable and eco-friendly solution.
Tips for your organizers:
– Use different sizes for a variety of toys.
– Create a fun theme with colors or designs.
– Use lids for a complete storage solution.
Supplies you’ll need:
– Clean cans
– Paint or stickers
– Labels (optional)
Steps to create your organizers:
1. Clean the cans and dry.
2. Decorate with paint or stickers.
3. Fill with toys or crafts.
4. Place in designated play areas!
You Might Also Like
10 Stunning Bathroom Cabinet Designs with Sink and Mirror for a Modern Makeover
9. Unique Vases
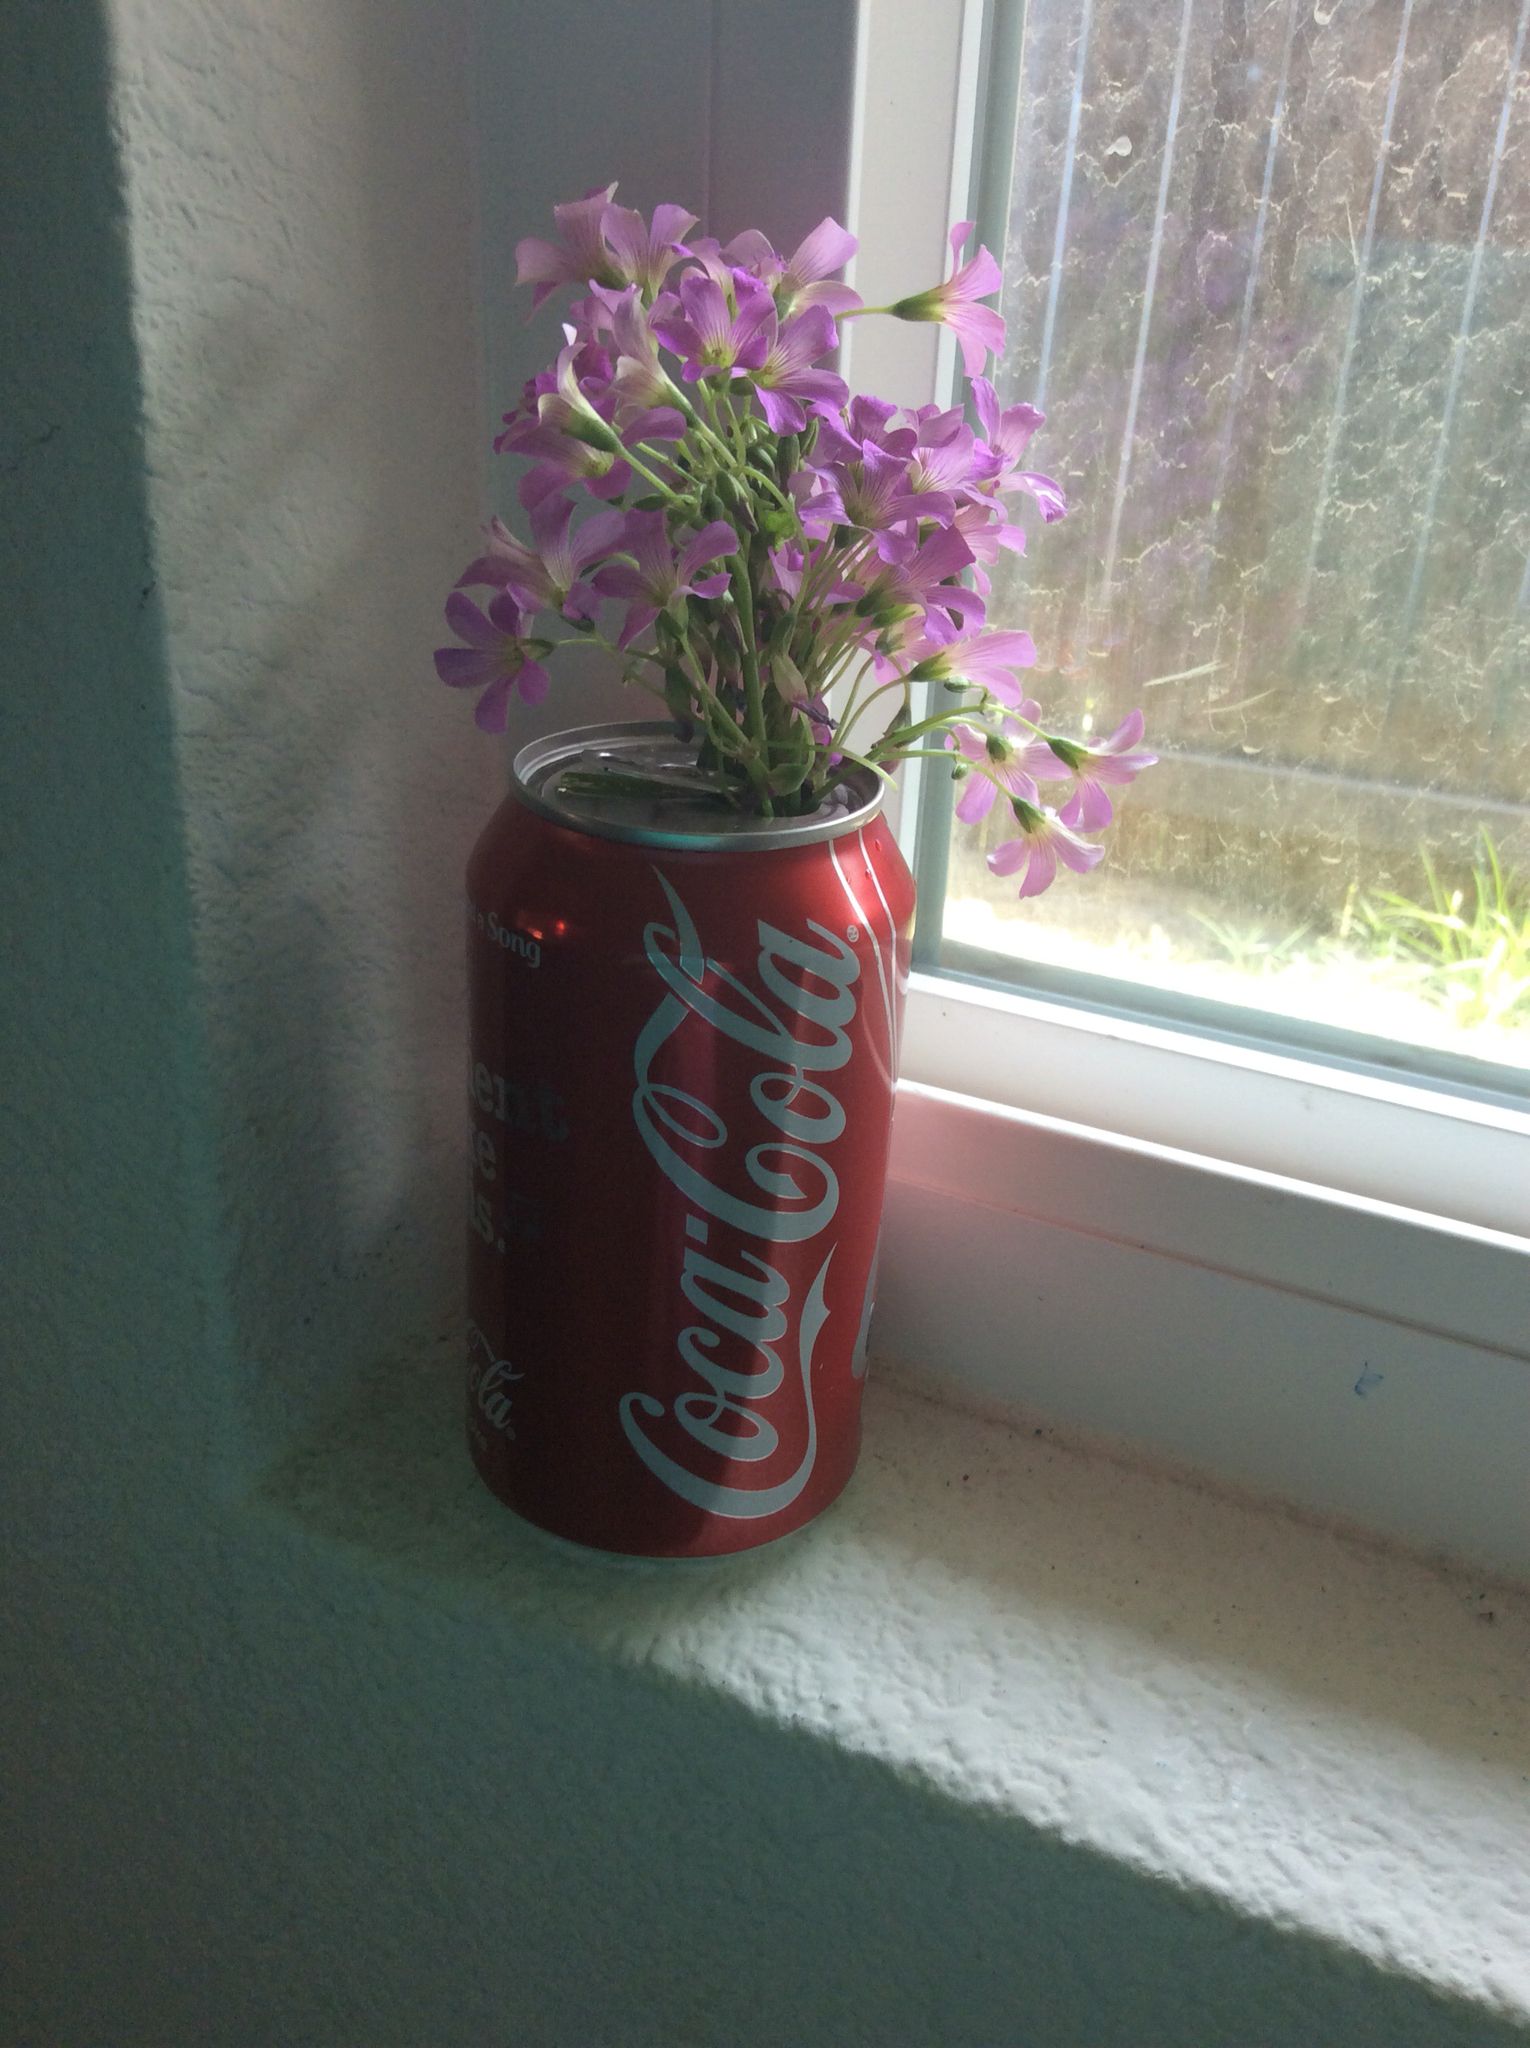
Want to enhance your home decor? Create unique vases from upcycled cans for an elegant touch! This idea is fantastic for showcasing fresh flowers or even dried arrangements.
Start by cleaning the cans and decorating them with paint or textured paper. Use a single can or group several together for a more striking display. These vases work perfectly as centerpieces or decorative accents in any room.
Key benefits of these vases:
– Customizable and creative decor.
– Affordable alternative to store-bought vases.
– Supports floral arrangements beautifully.
Tips to beautify your vases:
– Use twine or lace for a rustic look.
– Paint in seasonal colors for a fresh update.
– Pair with contrasting flowers for a stunning display.
Supplies you’ll need:
– Clean cans
– Paint or decorative materials
– Flowers of your choice
Steps to create your vases:
1. Clean and dry the cans.
2. Decorate as desired.
3. Fill with water and add flowers.
4. Arrange around your home for a charming touch!
Image credit: Kamryn Stevens on Pinterest
10. Holiday Decorations
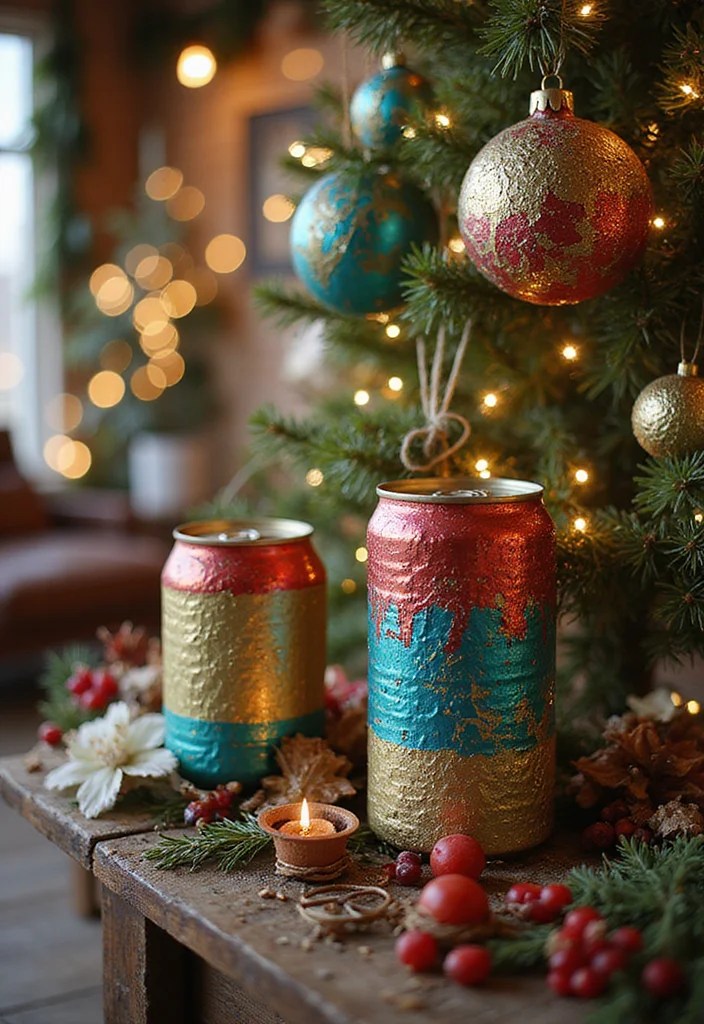
Ready to get festive? Create creative holiday decorations from upcycled cans! Transform them into ornaments, garlands, or centerpieces to brighten your celebrations.
Start by cleaning the cans and cutting them into shapes for ornaments. Decorate with paint, glitter, or fabric, and string them together for beautiful garlands. These handmade decorations will add a personal touch to your holiday festivities!
Key benefits of these decorations:
– Unique and personalized holiday decor.
– Affordable and crafty options.
– Fun family project to engage everyone!
Tips for your holiday decorations:
– Coordinate colors with your holiday theme.
– Add lights inside for a glowing effect.
– Involve kids for extra fun.
Supplies you’ll need:
– Clean cans
– Craft supplies (paint, glitter, etc.)
– String or twine
Steps to create your decorations:
1. Clean the cans thoroughly.
2. Cut and shape for ornaments or garlands.
3. Decorate each piece.
4. Assemble and hang or display!
Conclusion
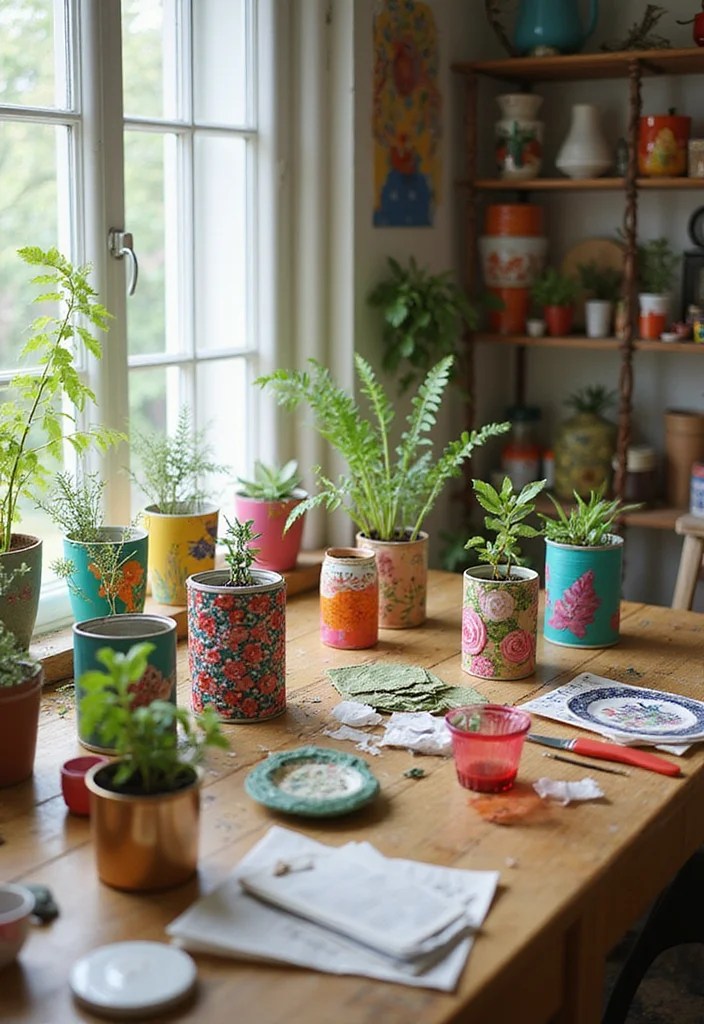
Upcycling cans is not only a sustainable choice; it also allows for endless creativity in your home decor. From practical storage solutions to unique art pieces, these ideas can truly transform your space. The best part is that most of these projects can be done with materials you already have at home, making them affordable and eco-friendly. So, gather your supplies, unleash your creativity, and start crafting today!
Let’s keep our planet clean one can at a time!
Frequently Asked Questions
What are beginner-friendly upcycling ideas with cans to freshen up your space?
Here are beginner-friendly ideas to kick off your upcycling journey with cans and transform any room. Think: 1) Painted tin can planters for herbs or succulents; 2) Tin can lanterns or candle holders with decorative cutouts; 3) Simple storage containers for pencils, makeup, or hardware; 4) Wall art using pressed or arranged can lids as a mosaic; 5) Hanging can lights or wind chimes made from clean cans.
Steps: gather cans, remove labels, wash and dry, sand any sharp edges, apply primer, paint with acrylic craft paint, decorate with stencils, tape, or fabric, then seal with a clear topcoat. For durability, add a liner for storage cans or a small tray at the bottom of planters. With these ideas, you’ll see upcycling cans become practical containers and vibrant DIY crafts in your space.
How do I safely prep and clean cans before starting an upcycling project?
Before you upcycle, prep is key. Soak and remove labels, wash well, and dry completely.
Put on gloves and file or sand any sharp edges so you don’t cut yourself during painting or handling.
If you’re using outdoors or in a humid space, treat rust spots with a rust converter or sand them away, then wipe clean. Prime metal surfaces with a metal primer for better paint adhesion, then finish with acrylic craft paint or spray paint. Finally seal with a clear, weather- and moisture-resistant topcoat if the cans will live in damp areas. This keeps your upcycling cans projects looking fresh as DIY crafts for years.
What containers or DIY crafts can I make from cans for organization and decor?
More ideas that combine style and organization: 1) Small storage canisters with lids for screws, buttons, or makeup; 2) Planters or vases with drainage holes and a waterproof liner; 3) Tealight or LED lanterns for a warm glow; 4) Wall-mounted racks or magazine holders made from stacked cans; 5) Hanging pendant lights using a few cans with sturdy wire. These count as practical containers and creative DIY crafts that brighten shelves and desks. Quick tips: use decorative paper, twine, or decoupage to personalize each can and consider a cohesive color scheme for a unified look.
What tools and materials do I need to get started with upcycling cans?
Here’s a handy starter list: clean cans, gloves for safety, sandpaper or a file, metal primer, acrylic paint or spray paint, clear sealant or mod podge, a drill or punch for making holes (if you want hanging pieces), decorative elements like stencils, washi tape, fabric, or paper, liners for storage or plant cans, and optional LED lights or tea lights for lanterns. Source cans from recycling, thrift stores, or repurpose old pantry items. This kit makes it easy to begin any upcycling projects with upcycling cans.
How can I finish and protect my upcycled can projects to make them durable and safe?
To keep things safe and durable: choose the right finish for indoor vs outdoor use; keep flames away by using LED lights instead of candles; line wet containers with a plastic liner to prevent rust and staining; ensure lids or openings are secure if kids or pets are around; inspect edges and re-sand any burrs that appear. Apply a couple of coats of sealant to protect paint. With these steps, your cans-based DIY crafts will stay sturdy and stylish for years.
Related Topics
upcycling cans
DIY crafts
home decor
budget friendly
creative containers
eco-friendly projects
beginner friendly
interior design
garden decor
functional art
quick upcycle
minimalist style
 The Midnight Scribbler
Leave a comment