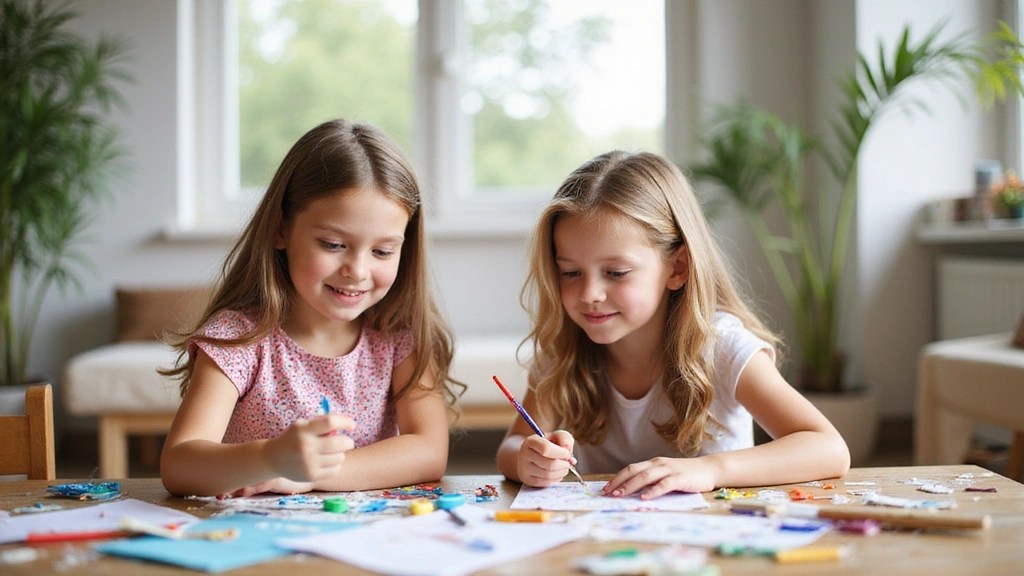
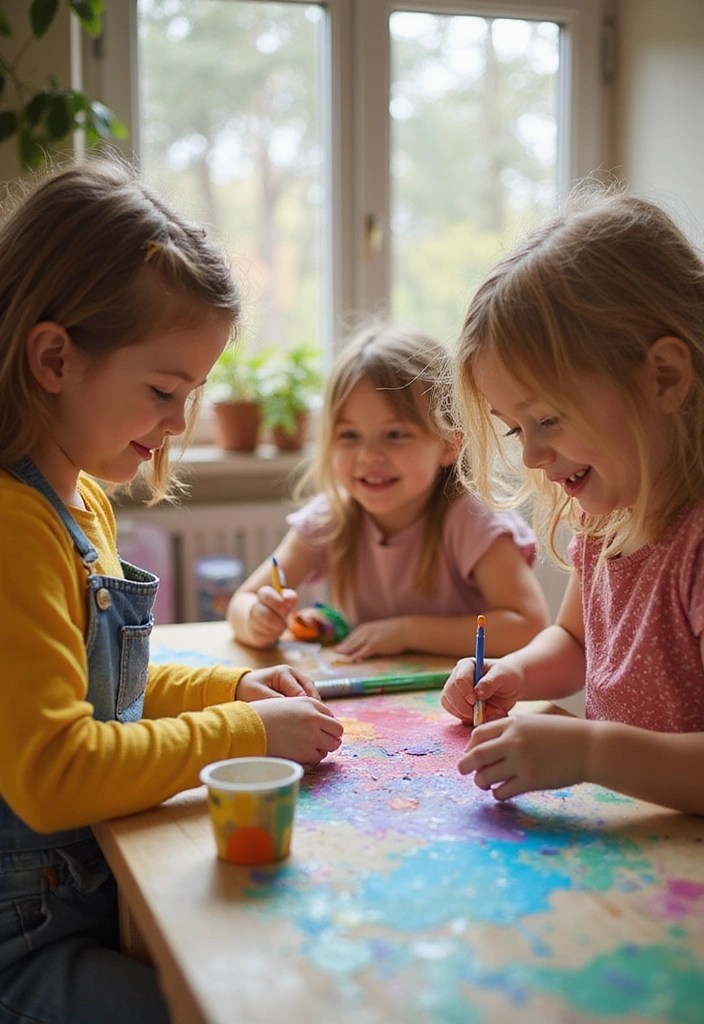
Rainy days don’t have to be dull or boring! Gather your little artists and dive into these five fun DIY art projects that will unleash their creativity. Each project is designed to be engaging and simple, using materials you likely have at home. From colorful crafts to imaginative creations, these activities will keep your kids entertained while they’re stuck indoors. Let their artistic flair shine as they transform everyday items into masterpieces!
Embrace the mess and the joy that comes with crafting together. These projects are all about exploring creativity and allowing kids to express themselves through art. Plus, they’ll love getting their hands a little dirty! Get ready to have some fun on those gloomy days with these five kid-approved projects.
Contents
- 1. Rainbow Paper Plate Crafts
- 2. Nature Collage Creations
- 3. DIY Tie-Dye T-Shirts
- 4. Homemade Playdough Fun
- 5. DIY Picture Frames
1. Rainbow Paper Plate Crafts
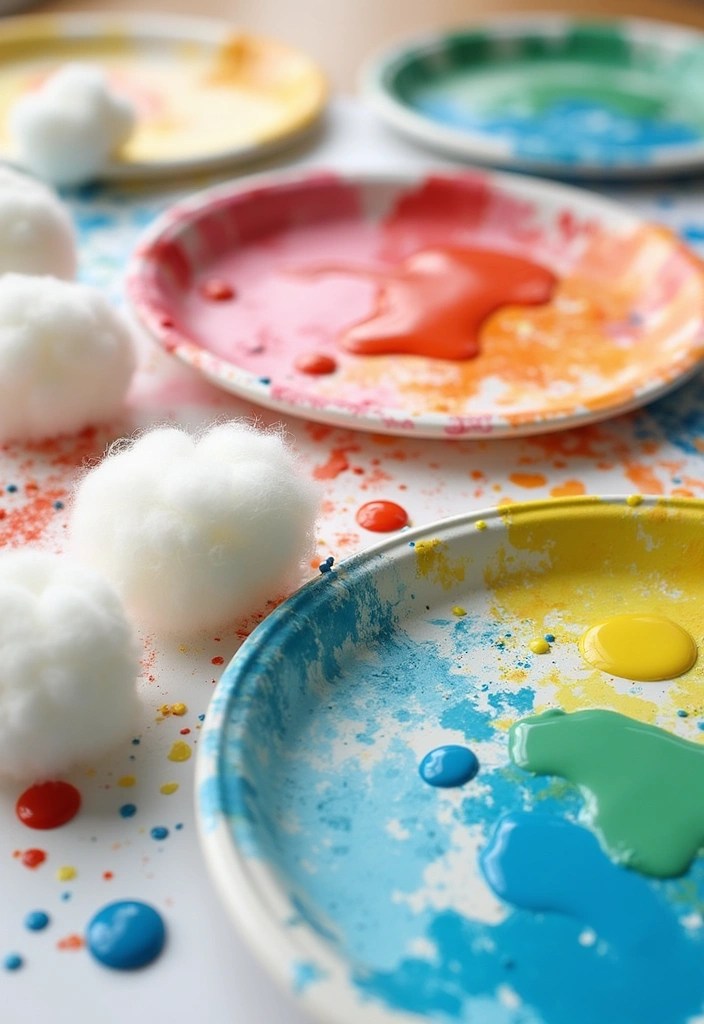
Transform simple paper plates into vibrant rainbows! This project is not only fun but also a great exercise in color recognition and fine motor skills. All you need are paper plates, colorful paints or markers, and some cotton balls for the clouds.
Have your kids paint the plates in rainbow colors, layering them in whichever way they like. Once the paint dries, they can glue cotton balls at one end for a fluffy cloud effect. This is the perfect opportunity to spark conversations about colors and creativity!
Encourage kids to experiment with different color combinations and patterns. You could even challenge them to create a ‘secret message’ in their rainbow by using unique color codes. Make sure to hang their masterpieces where everyone can see them! The pride they feel when their art is displayed will motivate them to keep creating.
Materials Needed:
– Paper plates
– Paints or markers
– Cotton balls
– Glue
– Optional: Glitter for extra sparkle!
This project combines art and play, making it a delightful way for kids to spend a rainy afternoon.
Product Recommendations:
2. Nature Collage Creations
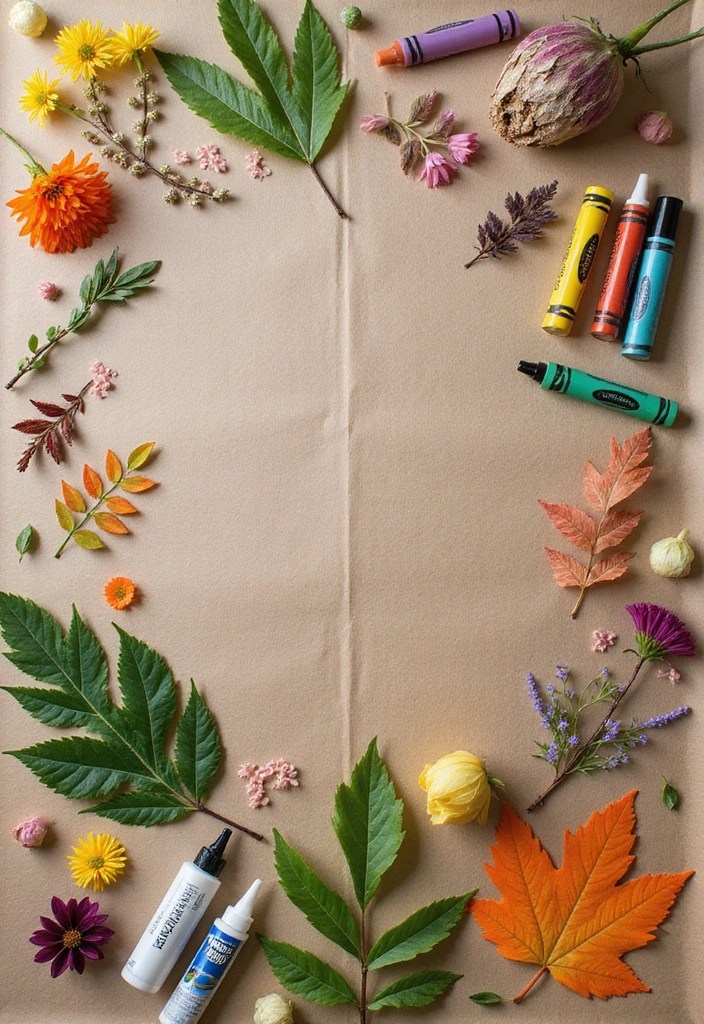
Bring the outdoors inside with a nature collage! This project encourages kids to explore their surroundings—if the weather permits—aided by a little adventure in your backyard. Collect leaves, twigs, flowers, or any interesting natural materials your child finds. Once you’ve gathered your treasures, it’s time to create!
Using a large sheet of paper or cardboard, kids can arrange their findings into beautiful designs. They can create animals, landscapes, or abstract art depending on their mood. This activity not only boosts creativity but also teaches them about nature and materials.
For added fun, they can use paints or crayons to draw around the collaged items, giving their artwork more depth and personality. Encourage them to tell a story about their collage when they’re done, making it an interactive experience.
Materials Needed:
– Paper or cardboard as a base
– Natural materials (leaves, twigs, flowers)
– Glue
– Optional: Crayons or paints for embellishment
This project is perfect for children of all ages and allows them to appreciate the beauty of nature while being creative indoors.
Product Recommendations:
3. DIY Tie-Dye T-Shirts
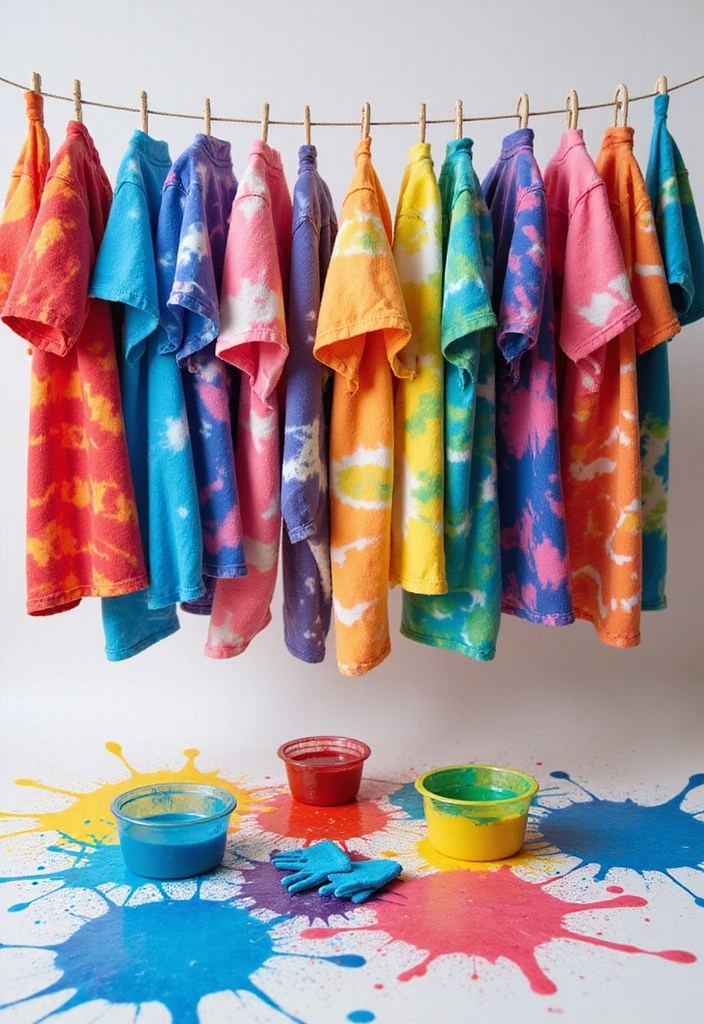
Why not turn a plain t-shirt into a colorful work of art? This DIY tie-dye project is a classic that kids adore! All you need are some white t-shirts, fabric dye, rubber bands, and gloves. It’s a bit messier than your average craft, but that’s all part of the fun!
Start by folding the t-shirts in various patterns—spirals, stripes, or even random twists! Secure the folds with rubber bands, then let your kids unleash their creativity with the dye. They can pour, squirt, or dab their choices onto the fabric, creating stunning designs. After the dyeing is complete, let the shirts sit for a few hours to set the colors. Then, rinse them out, and voilà—their very own personalized wardrobe!
Make sure to protect your workspace with old newspapers or plastic sheets to catch any spills. This is a great way to talk about color mixing and patterns while creating something they can wear proudly later.
Materials Needed:
– White cotton t-shirts
– Fabric dye (liquid or powder)
– Rubber bands
– Gloves
– Plastic sheets for protection
Once they see the final results, they’ll be excited to wear their colorful creations everywhere!
Product Recommendations:
• Disposable Gloves for Crafts
4. Homemade Playdough Fun
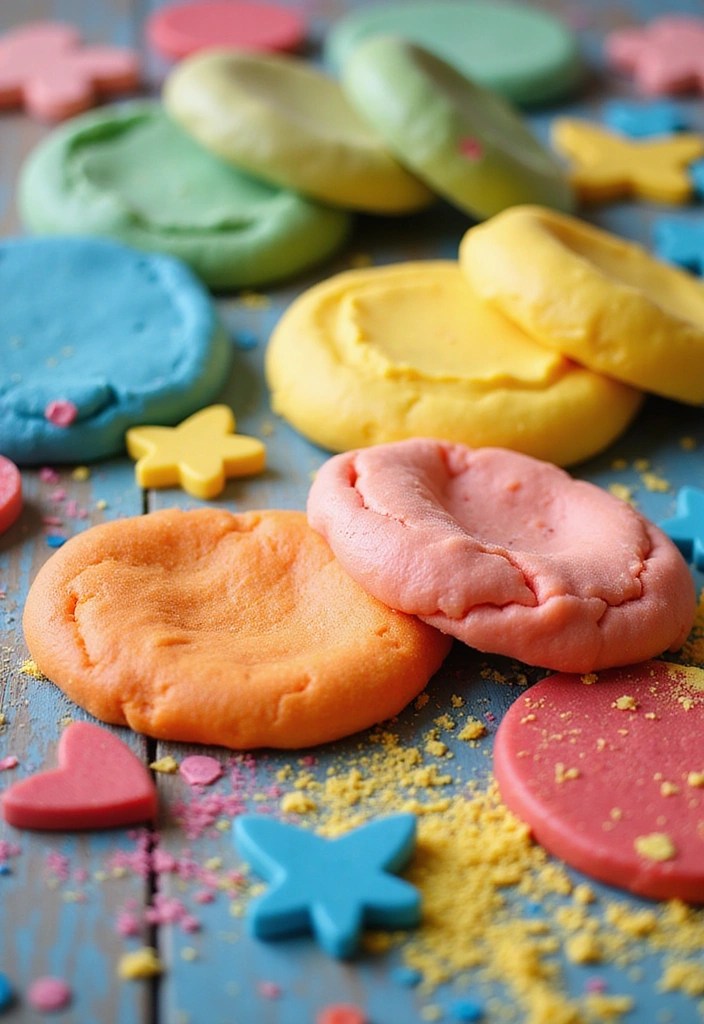
What could be better than creating your own playdough? This squishy, colorful dough is a favorite among kids and is super easy to make! All you need are flour, salt, water, and food coloring. This project doubles as a craft and a sensory experience. Here’s how to do it:
1. In a large bowl, mix 2 cups of flour, 1 cup of salt, and about 2 cups of water. You can add a few drops of oil as well for a smoother texture.
2. Stir the mixture until it comes together. If it’s too sticky, add a touch more flour until it reaches your desired consistency.
3. Divide the dough into portions and let the kids add their favorite colors.
4. Knead the dough with their hands until the colors are vibrant.
Once the dough is ready, encourage kids to use cookie cutters, molds, or anything to create fun shapes! This activity is also a great opportunity to introduce them to concepts like mixing and measurement.
Materials Needed:
– 2 cups of flour
– 1 cup of salt
– 2 cups of water
– Food coloring
– Optional: Cookie cutters and molds
This homemade playdough is safe, non-toxic, and can provide hours of creative play combined with hands-on learning!
Product Recommendations:
5. DIY Picture Frames
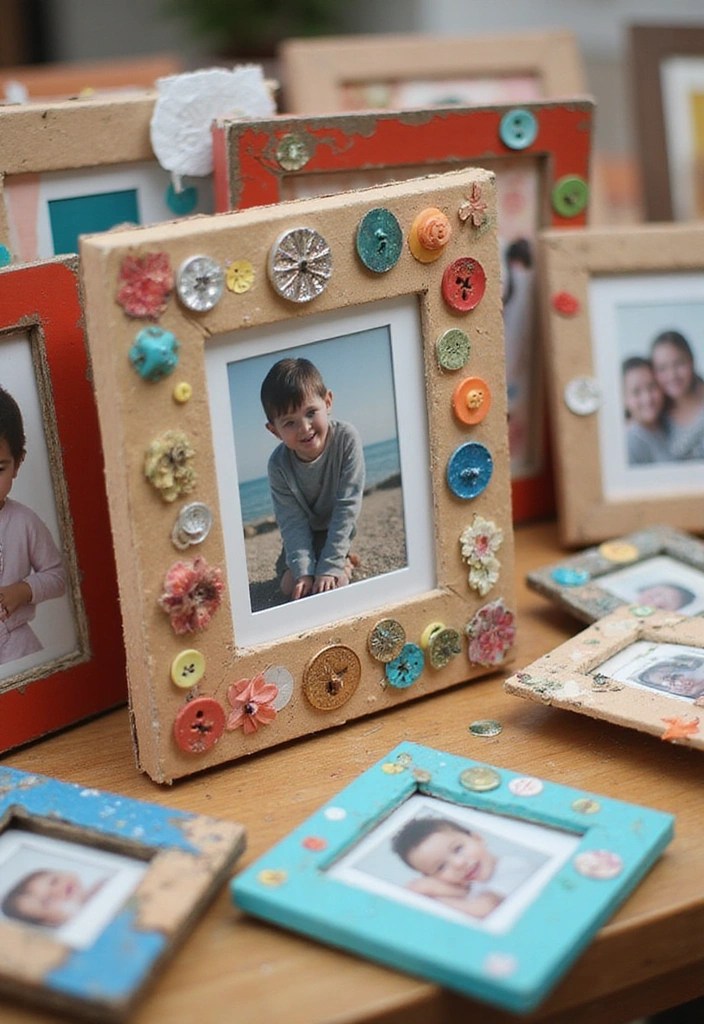
Capture memories with personalized picture frames! This easy DIY project allows kids to showcase their favorite art or family photos. Grab some cardboard, decorative items like stickers, buttons, or even small stones, and scissors to get started.
First, cut the cardboard into a rectangle or square shape, then cut a smaller square/rectangle in the middle for the photo. Now comes the fun part—let kids decorate the frame as they please! They can glue on decorative items or paint it in their favorite colors.
Once the frames are done, let them choose a special photo to display. Kids will love seeing their work in action, and it makes a wonderful gift for family members as well! This project not only nurtures crafting skills but also highlights the value of memories and keepsakes.
Materials Needed:
– Cardboard
– Scissors
– Decorative items (stickers, buttons, stones, paint)
– Glue
– Photos for framing
These frames are not just beautiful; they’re a great way to talk about family connections and capture happy moments.
Product Recommendations:
• Assorted stickers and embellishments
Conclusion
Rainy days can be a fantastic opportunity for creativity and bonding. These five DIY art projects are sure to keep your little ones engaged and entertained, while also allowing their imaginations to run wild. Whether it’s painting, creating collages, or making personalized items, there’s something for every young artist in these ideas.
So, gather your supplies, get messy, and most importantly, have fun together! There’s nothing like crafting memories that will last a lifetime.
Frequently Asked Questions
What materials do I need for the Rainbow Paper Plate Crafts?
Gathering materials for the Rainbow Paper Plate Crafts is super easy! All you need are some plain paper plates, colorful paints or markers, and a paintbrush. Optional items include glitter for that extra sparkle and scissors if you want to add fun shapes. It’s a fantastic way to explore colors while crafting!
How can I make the Nature Collage Creations safe and fun for kids?
Making Nature Collage Creations is both safe and exciting! Encourage your kids to collect leaves, small twigs, or flowers from your yard or a nearby park. Just remind them to avoid any poisonous plants. Provide them with glue, scissors, and a large piece of cardboard or paper to create their masterpiece. It’s a wonderful way to connect with nature, even when stuck indoors!
What safety precautions should I take while doing the DIY Tie-Dye T-Shirts?
Great question! When doing DIY Tie-Dye T-Shirts, it’s essential to wear gloves to protect your hands from the dye. Lay down old newspapers or plastic sheets to prevent stains on your surfaces. Make sure to work in a well-ventilated area, and consider using aprons or old clothes that you don’t mind getting messy. Safety first, but fun is a close second!
What are some variations I can try with Homemade Playdough?
Homemade Playdough is a fantastic canvas for creativity! You can try adding different scents with essential oils, or experimenting with glitter for some shimmer. For colored playdough, mix in food coloring to achieve the shades you want. Want to get even more adventurous? Consider adding textures like sand or small beads for a fun sensory experience. The possibilities are endless!
How can I personalize the DIY Picture Frames for special occasions?
Personalizing DIY Picture Frames is a delightful way to celebrate special moments! Encourage your kids to decorate the frames with stickers, photos, or even drawings that represent the occasion. For birthdays, they could use colorful balloons or cake stickers. For family holidays, consider using themed decorations like snowflakes for winter or flowers for spring. It’s a heartfelt way to cherish memories!
Note: We aim to provide accurate product links, but some may occasionally expire or become unavailable. If this happens, please search directly on Amazon for the product or a suitable alternative.
This post contains Amazon affiliate links, meaning I may earn a small commission if you purchase through my links, at no extra cost to you.

Leave a reply to 10 Simple Outdoor Obstacle Course Ideas Using Household Items (Your Kids Will Love #5!) – The Midnight Scribbler Cancel reply