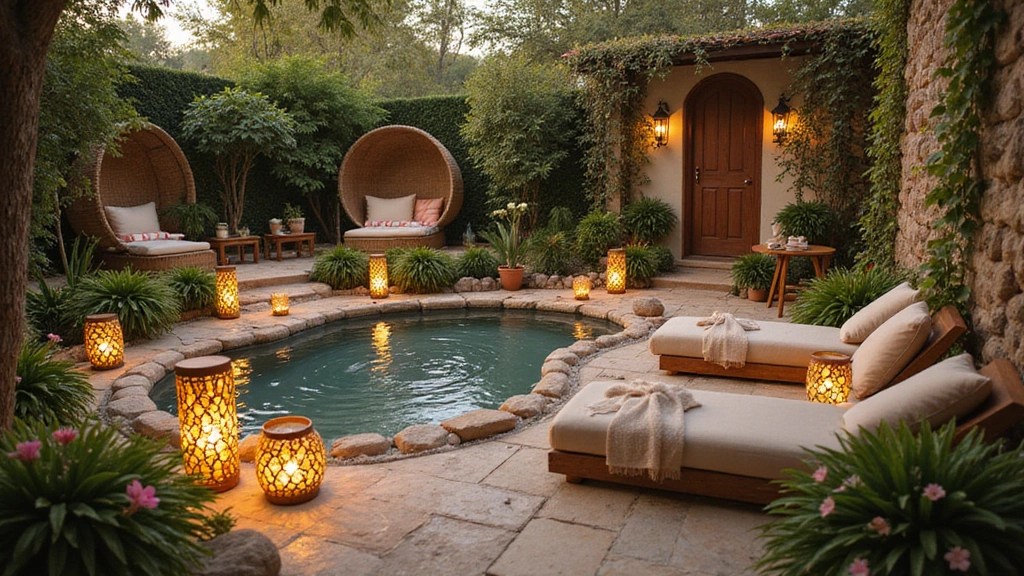
Creating your own mud bath haven at home can transform your space into a personal sanctuary of relaxation and healing. Whether you’re seeking stress relief, skin rejuvenation, or simply a place to unwind, this guide will walk you through the delightful process of crafting your own spa pool. From selecting the right materials to setting the perfect ambiance, every detail contributes to your healing experience.
In our fast-paced world, carving out a slice of serenity is essential. Imagine dipping into a warm, earthy bath infused with natural goodness that rejuvenates both your body and spirit. This DIY project not only allows you to customize your spa environment but also brings a touch of nature into your home. Let’s embark on this soothing journey together, transforming your backyard into the ultimate relaxation retreat.
Contents
- Choosing the Perfect Location
- Gathering Your Materials
- Building the Pool Structure
- Mixing the Mud
- Adding Aromatherapy Elements
- Setting the Ambiance
- Enjoying Your Healing Spa Experience
- Caring for Your Mud Bath
- Inviting Friends for a Spa Day
Choosing the Perfect Location

Selecting the right spot for your mud bath is crucial to your enjoyment and relaxation. Look for an area in your garden or yard that has natural sunlight while also maintaining some shade from tall trees or structures, allowing for a comfortable soak during different times of the day. To enhance your comfort, consider installing a sun shade canopy like the SUNNY GUARD sun shade sail. This can provide the necessary UV protection while giving you that ideal balance of sunlight and shade.
Privacy is another important aspect. A secluded location can enhance your sense of tranquility away from prying eyes. For added seclusion, consider using an outdoor privacy screen. This decorative fence can create a personal oasis where you can unwind without interruptions.
Additionally, ensure the ground is level and has good drainage to prevent water accumulation. You might find a garden leveling tool like the COCONUT lawn leveling rake useful for achieving an even surface. It helps prepare your space, ensuring everything is just right for a relaxing soak.
By thoughtfully considering your mud bath’s location and utilizing these helpful tools, you’ll create a personal oasis where relaxation comes naturally.
Gathering Your Materials
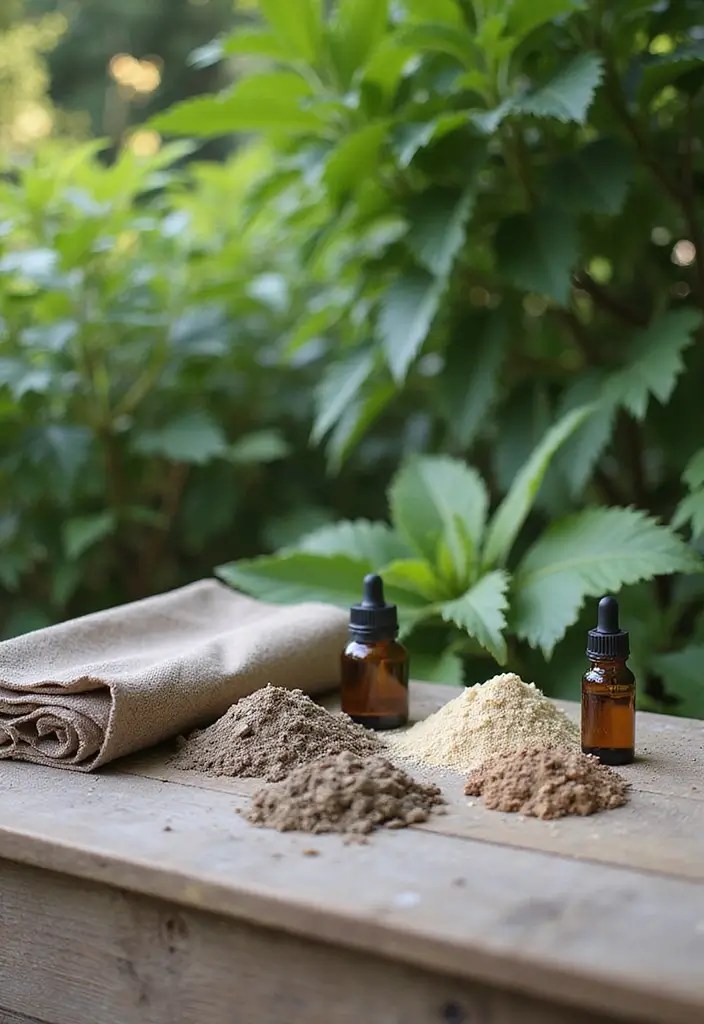
Creating your mud bath pool requires a few essential materials to achieve just the right balance of comfort and healing properties. Start with a sturdy pool liner like the Heavy-Duty Pool Liner, which is designed to prevent leaks and ensure cleanliness while containing the mud. This liner is tough enough to withstand punctures and can extend the life of your setup.
Next, you’ll need to source quality mud or clay. Natural clay soil, which you can often find in your backyard, works wonders, or you can bring home the Natural Clay for Mud Baths. This sodium and calcium bentonite clay bath soak powder enhances the detoxifying properties of your bath, helping to draw out impurities from your skin while rejuvenating your body.
Don’t forget about additives! Consider using essential oils like the Essential Oils Set, which features a blend of clary sage, ylang-ylang, roman chamomile, and lavender for their soothing qualities. You can also incorporate herbs such as chamomile or rose petals to elevate your experience.
– Sturdy Liner: Choose a high-quality liner to prevent leaks.
– Natural Mud: Use clay soil for its healing benefits.
– Additives: Essential oils and herbs add extra relaxation.
With the right materials, including a sturdy liner and quality clay, you can ensure your mud bath is not just a soak, but a holistic healing experience.}
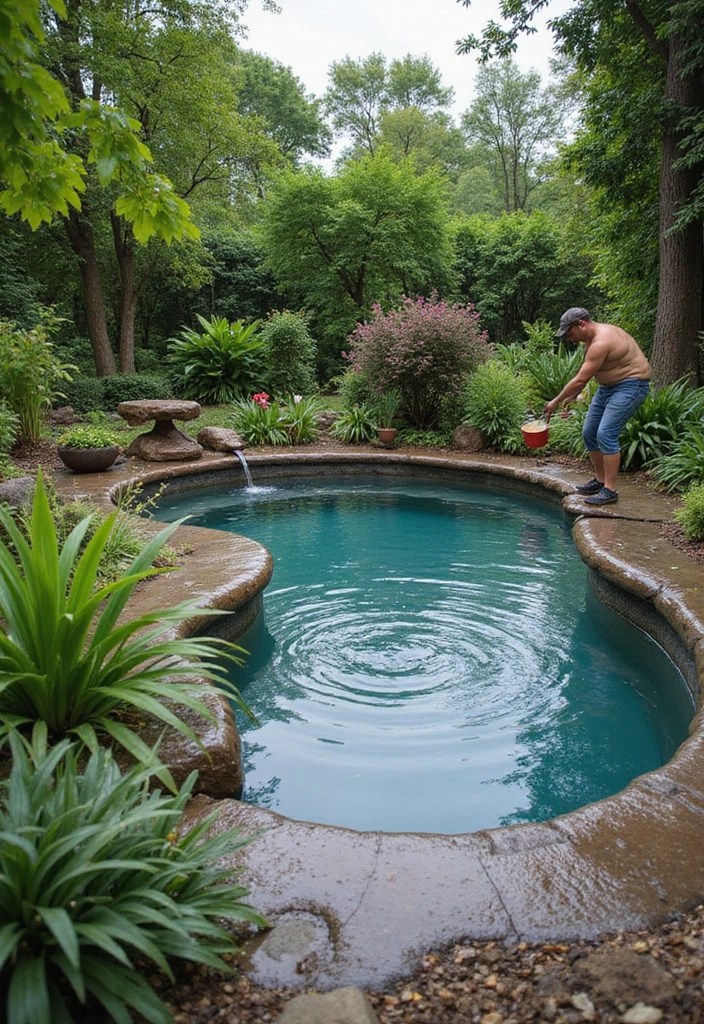
Building the Pool Structure
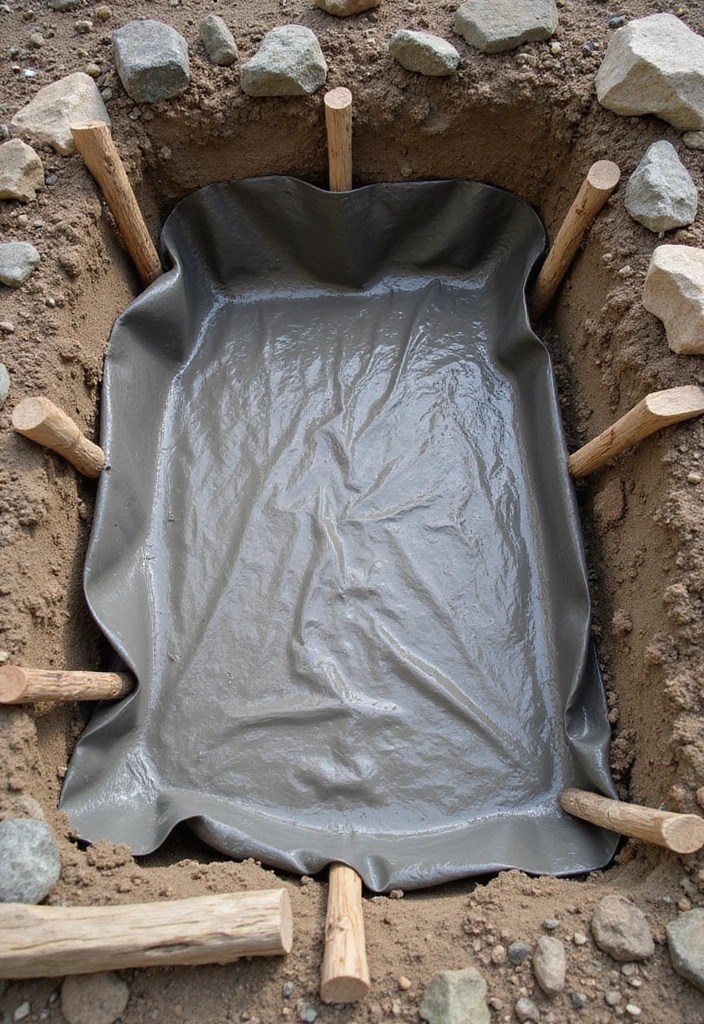
Once you’ve gathered everything, it’s time to construct the structure of your mud bath. Start by digging a shallow hole in the ground, approximately 12-18 inches deep, allowing for ample room to accommodate both the mud and the bather. A sturdy tool like the garden trowel set can make this digging process easier and more efficient.
After you’ve shaped the pit to your desired dimensions, lay down your pool liner, ensuring it’s smooth and free of wrinkles. For this, you might want to consider the heavy duty pool liner, which is weather resistant and features welded seams. Its robust design ensures that your mud bath remains stable and prevents soil contamination, allowing you to fully enjoy the natural healing experience.
For added aesthetics, consider building a border around the mud bath with stones or wooden planks. The natural stone border kit not only enhances the visual appeal of your spa pool but also serves a practical purpose by providing stability and preventing mud from spilling over. This thoughtful addition will elevate both the look and functionality of your mud bath.
This simple yet effective construction process will yield a functional and beautiful mud bath that beckons you to relax.
Crafting your own mud bath is not just about relaxation; it’s a journey to creating your personal sanctuary. Dig deep, lay a smooth liner, and let nature’s healing power envelop you!
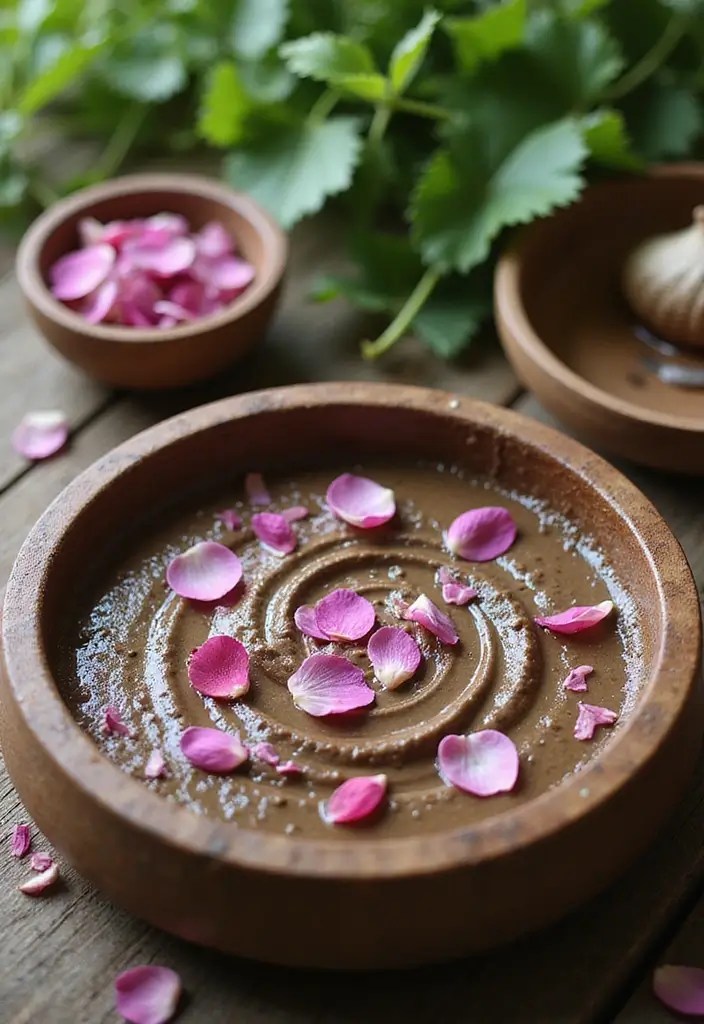
Mixing the Mud
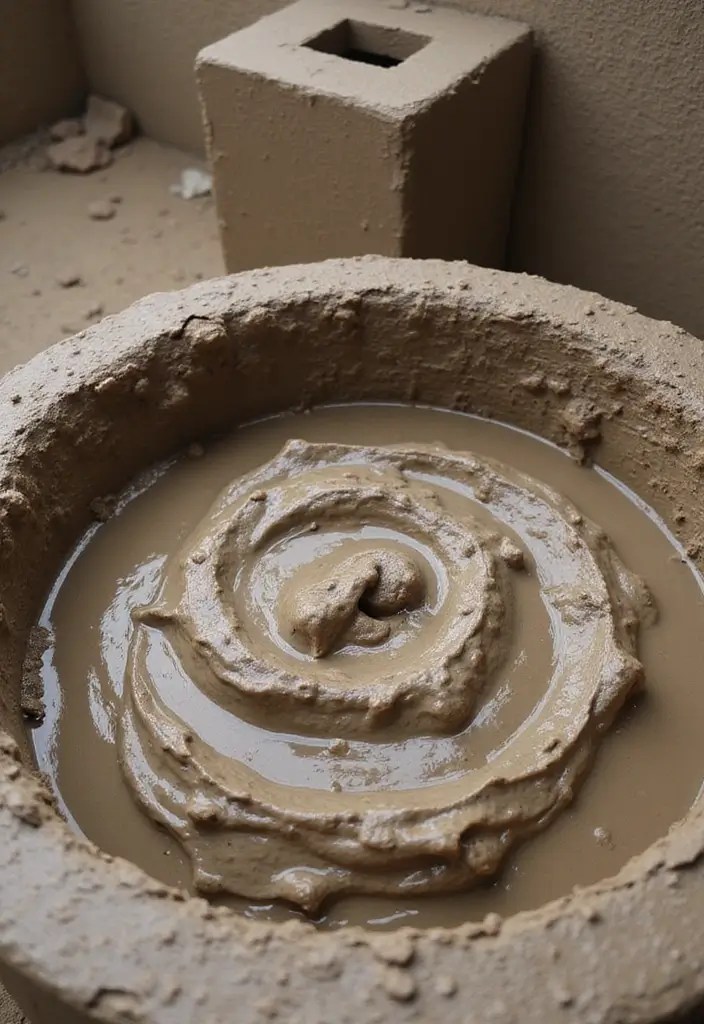
Now comes the fun part—mixing your mud! Combine your natural clay, like Enviromedica magnetic bentonite clay bath, with water in a large container to create a smooth, creamy consistency. Aim for a texture that’s thick enough to hold its shape but fluid enough to cover your skin comfortably.
If you’re feeling adventurous, incorporate additional ingredients such as Fruit of the Earth moisture gel, aloe vera for its soothing properties or Nate’s organic honey for its moisturizing effects. This step allows you to customize the therapeutic qualities of your mud bath.
Make sure to mix thoroughly to avoid lumps, ensuring even distribution of nutrients throughout the mud. Once it’s ready, gently pour it into your constructed pool, filling it to your desired level.
– Consistency: Aim for creamy yet thick.
– Additional Ingredients: Get creative with soothing additives like aloe vera and honey.
– Mix Thoroughly: Ensure a smooth texture without lumps.
This blending process not only preps your mud bath but also enhances the overall experience, making it uniquely yours.
Adding Aromatherapy Elements
To elevate your mud bath experience, consider adding aromatherapy elements that engage your senses. Essential oils can enhance both the mood and therapeutic benefits of your soak. For instance, lavender is known for its calming effects, while citrus oils can invigorate and energize.
To incorporate essential oils, simply add a few drops from an Essential Oils Set into the mud mixture before pouring it into the pool. This set includes popular oils like peppermint, tea tree, and orange, allowing you to customize your soak based on your preferences.
You can also create an essential oil diffuser nearby using an Essential Oil Diffuser. This ultrasonic diffuser not only disperses your favorite scents throughout the area with its remote control and LED colors but also contributes to a calming atmosphere as you prepare to relax.
Another fun idea is to float dried herbs like rosemary or petals on the surface of the mud bath. Incorporate beautiful and aromatic elements with a Dried Herbs for Aromatherapy kit, which offers a selection of natural dry flowers and herbs perfect for enhancing your bathing experience.
These touches of aromatherapy can transform your mud bath into a multi-sensory escape, leaving you feeling rejuvenated and refreshed.
Elevate your mud bath haven! A few drops of essential oils can turn your soak from simple to sensational—lavender for calmness, or citrus for an energy boost. Dive into serenity!
You might also like
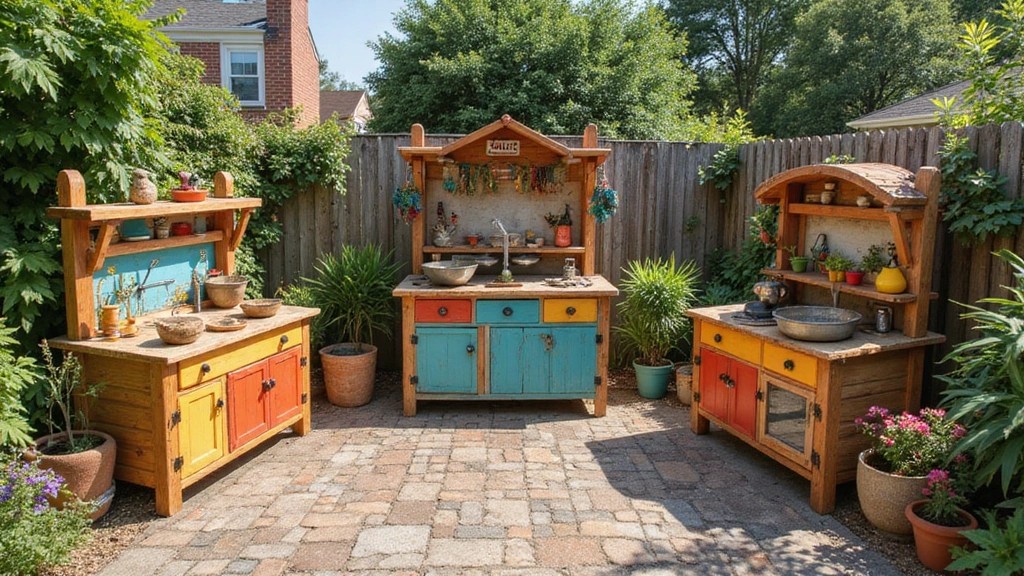
15 Creative Mud Kitchen Designs That’ll Inspire Outdoor Play Like Never Before!
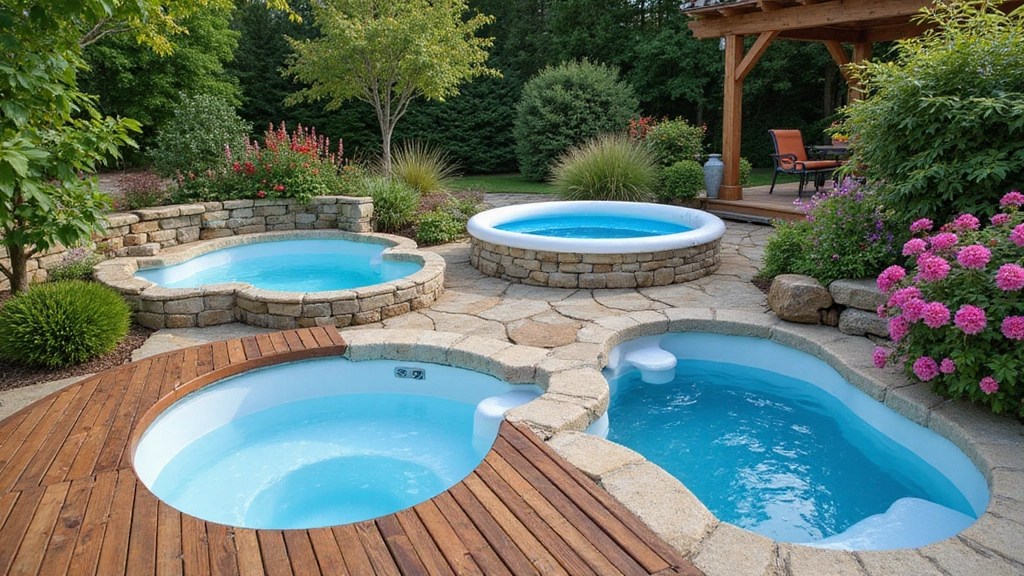
7 DIY Tiny Pool Ideas That Showcase Your Creativity and Style!
Setting the Ambience

The atmosphere around your mud bath can significantly enhance your healing experience. To create a warm and inviting glow as the sun sets, consider using solar-powered lanterns, which provide soft lighting that fosters relaxation and tranquility. The flickering flame effect adds an enchanting touch to your space, making it a perfect backdrop for your soothing soak.
Incorporate comfortable seating nearby, such as the cushioned lounge chairs that offer five adjustable positions for your comfort. Whether you’re enjoying a post-bath reading session or simply basking in the serene environment, these lounge chairs support up to 440 lbs, ensuring you have a comfy spot to unwind.
To further enhance the serene atmosphere, consider accessorizing your space with decorative elements like the decorative wind chimes. Their gentle sounds can create a calming ambience, allowing you to immerse yourself fully in the experience of relaxation.
By curating a thoughtful ambience with these elements, you’ll ensure that your mud bath is not only a physical retreat but also a mental escape.
Enjoying Your Healing Spa Experience
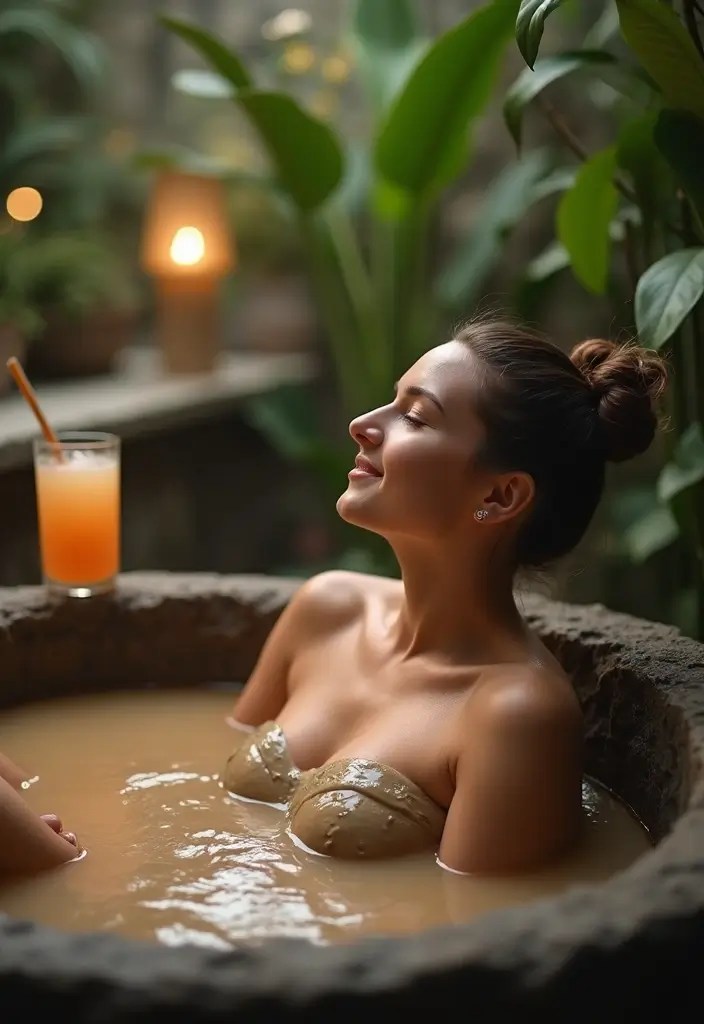
With everything set up and ready, it’s time to indulge in your healing spa experience. Before stepping into the mud bath, it’s helpful to rinse off in the shower, removing any dirt and oils to fully absorb the benefits of your soak. A cozy spa headband can keep your hair in place while you wash, ensuring a more pleasant experience.
Once you’re in the bath, take your time. Close your eyes, breathe deeply, and let the natural elements work their magic. This is a moment for you to unwind, disconnect from the hustle, and immerse yourself in tranquility. To enhance this luxurious feel, consider bringing along a refreshing drink like infused water or herbal tea to sip on during your soak.
Additionally, you might want to create a calming atmosphere with an essential oil diffuser. The soft, soothing scents can elevate your relaxation and immerse you deeper in the experience.
– Shower beforehand: Rinse for maximum absorption.
– Savor the moment: Take your time and relax completely.
– Stay hydrated: Sip on a refreshing drink.
Embrace this time as a gift to yourself, allowing the mud and nature to rejuvenate your body and soul.
Caring for Your Mud Bath
Maintaining your mud bath not only keeps it hygienic but also prolongs its life. After each use, allow the mud to dry out before draining the water. This helps preserve the mud’s integrity and avoids any foul smells.
Regularly check the surrounding area for weeds or debris and remove any contaminants that might compromise your experience. For this, a handy garden weeder tool can be a great help in efficiently clearing weeds from the vicinity of your mud bath.
Consider rejuvenating the mud by adding fresh ingredients or mixing in more clay to keep the nutrient levels high. A product like natural clay for mud baths can be an excellent choice for replenishing your mud bath’s nutrients, ensuring a rich and beneficial soaking experience.
Additionally, if you notice the water level decreasing, it might be time to refill with fresh water to maintain a pleasant soaking experience. To elevate your relaxation, think about adding a soothing element, like herbal bath soak mix, which can enhance your time in the mud bath with its calming aromas and therapeutic benefits.
Taking these steps will ensure your mud bath remains a delightful escape for many seasons to come.
You Might Also Like
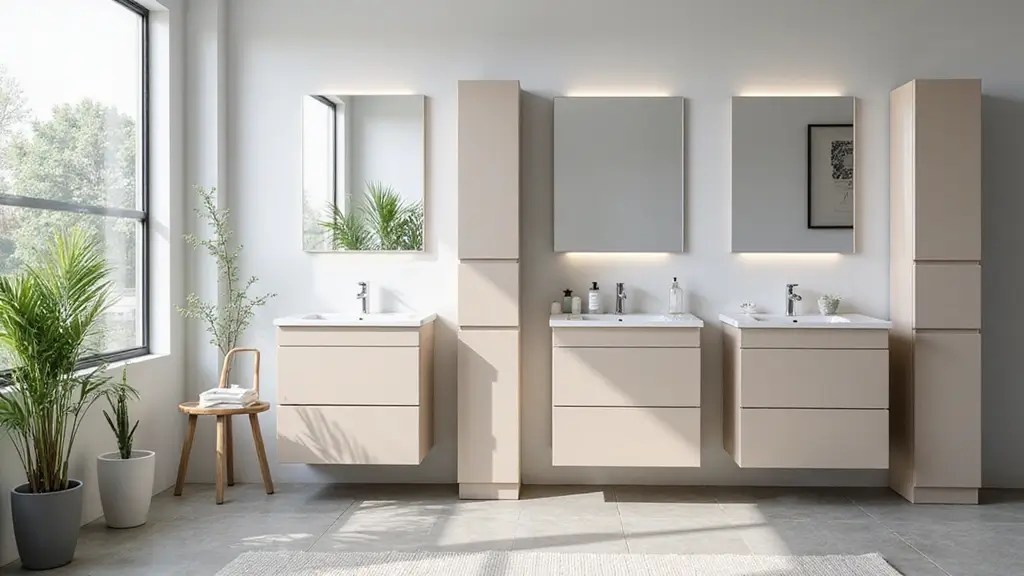
10 Stunning Bathroom Cabinet Designs with Sink and Mirror for a Modern Makeover
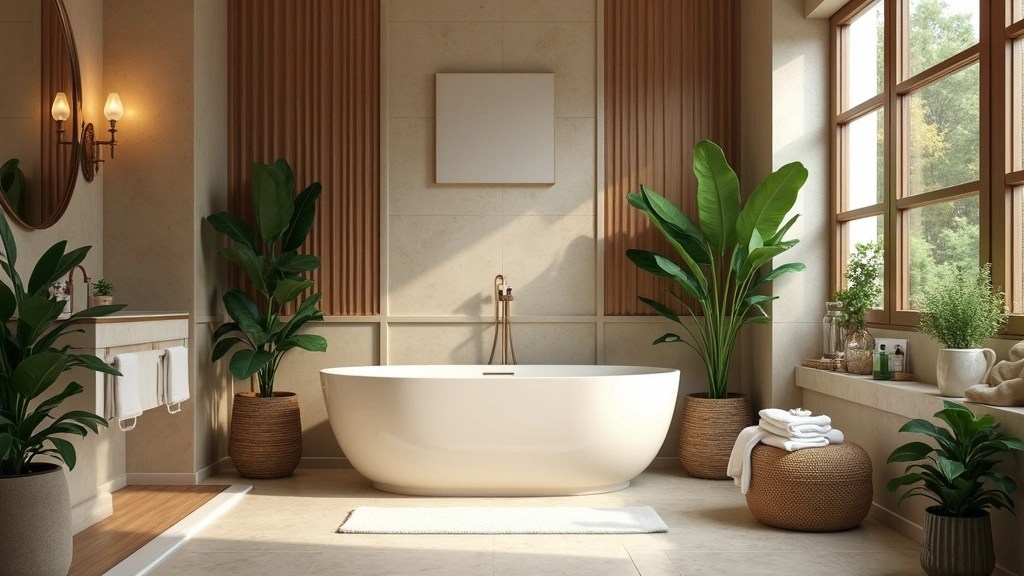
17 Spa-Like Bathroom Makeovers That’ll Make You Never Want to Leave!
Inviting Friends for a Spa Day
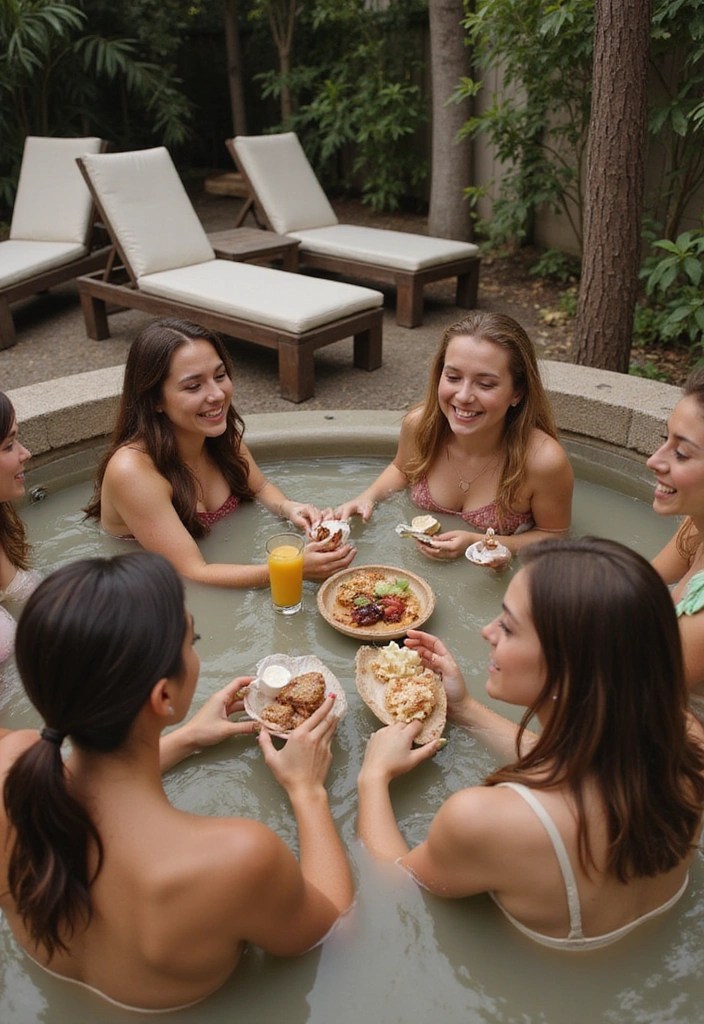
There’s nothing quite like sharing a pampering experience with friends. Consider inviting them over for a spa day where everyone can indulge in the mud bath together. Set up a cozy lounge area with snacks, drinks, and perhaps some light music to enhance the experience.
To make the mud bath even more enjoyable, you can use mud bath clay, such as Enviromedica’s Magnetic Bentonite Clay Bath. This rejuvenating blend, enriched with Himalayan salt, can help cleanse and soothe the skin, making the experience truly revitalizing.
Create a fun atmosphere by organizing mini spa treatments, such as facials or foot soaks, alongside the mud bath. Each person can bring their own favorite essential oil set to personalize their experience. A few drops of lavender or eucalyptus can transform the mood, enhancing relaxation for everyone.
Don’t forget to prepare for those treatments with some stylish spa headbands. These are perfect for keeping hair out of the way during facials, ensuring that everyone feels comfortable while enjoying their mini treatments.
By sharing the joy of your DIY mud bath, you’ll create lasting memories while promoting wellness and relaxation among friends.
Spa days are better shared! Invite friends over for a mud bath experience, complete with cozy lounging, snacks, and DIY treatments. Turn your home into a healing oasis where laughter and relaxation flow together!
Conclusion
Creating your own DIY mud bath haven is a rewarding project that can significantly enhance your well-being and transform your outdoor space. With careful planning and creativity, you can design a healing spa pool that offers relaxation and rejuvenation whenever you need it.
So gather your materials, invite some friends, and take the time to enjoy the soothing benefits of a mud bath. Remember, this little oasis is more than just a bath; it’s your personal retreat into tranquility.
Note: We aim to provide accurate product links, but some may occasionally expire or become unavailable. If this happens, please search directly on Amazon for the product or a suitable alternative.
This post contains Amazon affiliate links, meaning I may earn a small commission if you purchase through my links, at no extra cost to you.
Frequently Asked Questions
What Materials Do I Need to Create a DIY Mud Bath?
Creating your mud bath requires a few essential materials. You’ll need a sturdy pool liner, natural clay like bentonite clay, and water. Don’t forget to gather aromatherapy elements such as essential oils to enhance your experience!
Additionally, have some tools handy for digging and mixing, as well as cozy seating for ultimate relaxation.
How Do I Choose the Best Location for My Mud Bath?
Choosing the right location is key for a great mud bath experience! Look for a spot in your garden or yard that receives plenty of natural sunlight while also having some shade from nearby trees. This way, you can enjoy the warmth of the sun without overheating, creating a perfect healing spa pool environment.
Ensure the area is private and peaceful, allowing you to fully relax and unwind.
How Can I Maintain My Mud Bath for Longevity?
Maintaining your mud bath is essential for hygiene and longevity. After each use, allow the mud to dry out before draining the water. This helps preserve the mud’s integrity and avoids any unpleasant odours.
Regularly check for any debris or dirt, and consider refreshing the mud mixture every few months to keep your spa experience fresh and enjoyable!
Can I Add Aromatherapy to My Mud Bath Experience?
Absolutely! Adding aromatherapy elements can elevate your mud bath experience immensely. Essential oils like lavender or eucalyptus not only smell wonderful but also enhance the therapeutic benefits of your soak.
Mix a few drops of your favorite essential oil into the mud or place them in a diffuser nearby to create a calming atmosphere while you relax.
Is It Safe to Invite Friends to Enjoy the Mud Bath Together?
Yes, inviting friends for a spa day in your DIY mud bath can be a delightful experience! Just ensure everyone is aware of any allergies or skin sensitivities to the mud or any added essential oils.
Set up a cozy lounge area with snacks and drinks nearby, and enjoy the benefits of a shared healing spa experience. Just remember to maintain hygiene by rinsing off before entering the mud bath!
Related Topics
home decor
DIY spa
mud bath
healing experience
outdoor relaxation
aromatherapy
garden sanctuary
easy DIY
spa day
wellness retreat
natural materials
self-care

Leave a comment