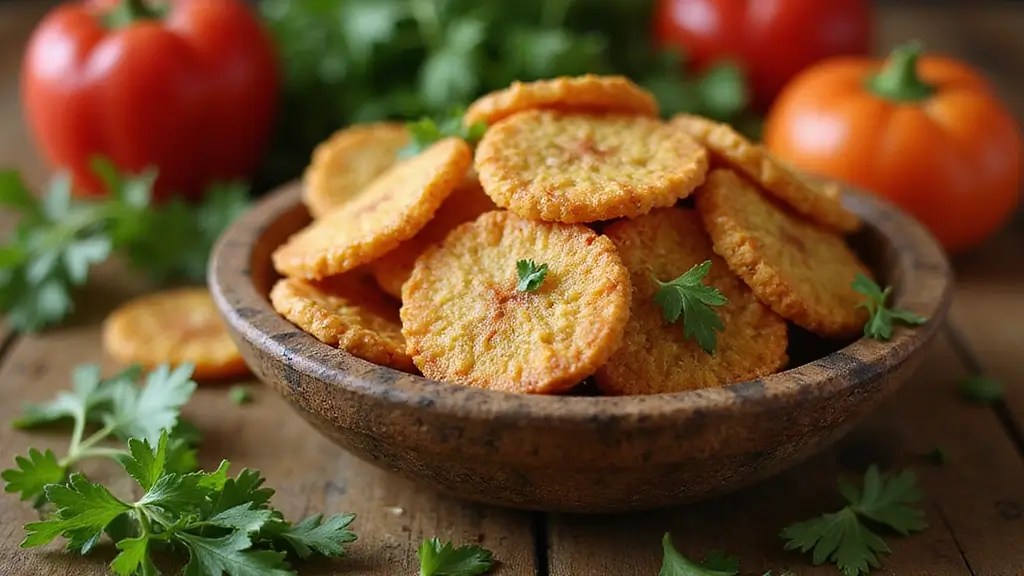
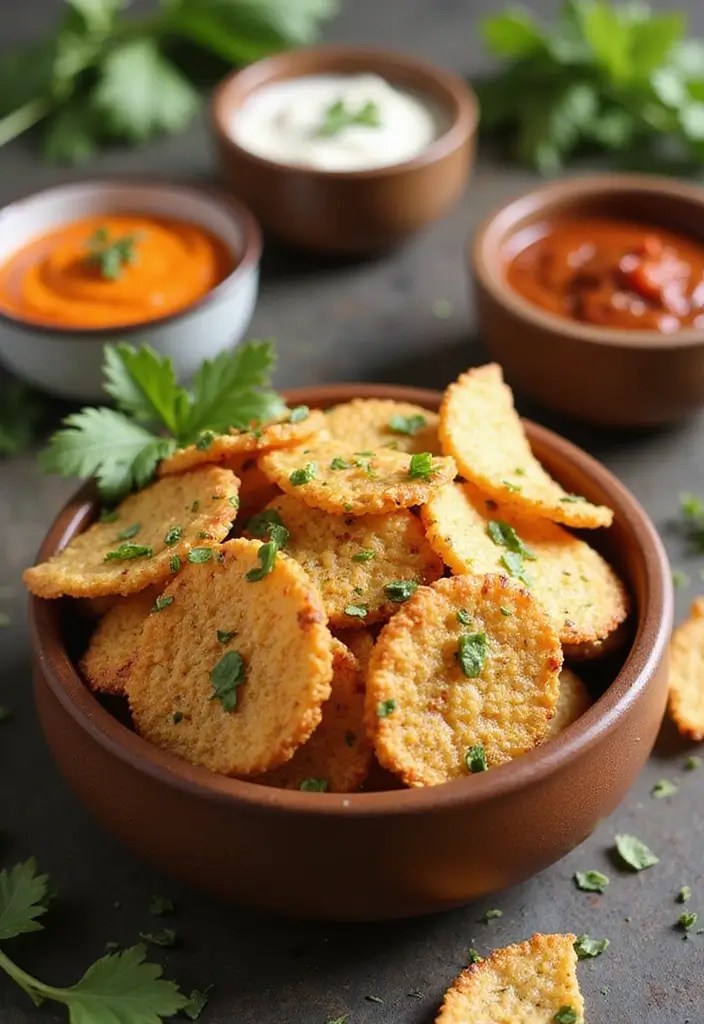
If you’re on the hunt for a snack that’s as delightful as it is healthy, finger millet chips are where it’s at! These crispy little bites are baked to perfection, making them a guilt-free option for your next movie night or afternoon munchie session. Not only are they packed with nutrients, but they also provide that satisfying crunch without the oil-soaked heaviness of traditional chips. Imagine crunching down on a chip that’s full of flavor, yet light enough to enjoy without regret. These finger millet chips are gluten-free, high in fiber, and super easy to make right in your kitchen.
Gather your friends and family and get ready to indulge in a homemade snack that everyone will love. Whether you enjoy them plain or with a side of your favorite dip, these chips are sure to be a hit! Let’s dive into the delightful world of baked finger millet chips and discover the joy of healthy snacking.
Contents
- Recipe Overview: Perfect for Every Snack Time
- Nutrition Information: Snack Smart
- Ingredients List: What You’ll Need
- Step-by-Step Instructions: Making the Chips
- Tips for Making the Best Finger Millet Chips
- Frequently Asked Questions about Finger Millet Chips
Recipe Overview: Perfect for Every Snack Time
Before we get into the nitty-gritty of making these delightful chips, let’s set the stage with a quick overview of the recipe. This finger millet chip recipe yields about 4 servings, making it a perfect snack for sharing (or not!). The prep time is just 15 minutes, with an additional 25 minutes of cooking time, making it a quick and easy option to whip up when cravings strike. The total time from start to finish is around 40 minutes.
To make your cooking experience even smoother, consider using a baking sheet. A nonstick carbon steel baking sheet set is great for ensuring your chips come out perfectly crisp without sticking. With the right tools, you’ll spend less time worrying about cleanup and more time enjoying your delicious snack.
In terms of nutrition, each serving contains approximately 150 calories, making it a light yet fulfilling snack option that fits perfectly into your healthy eating plan. It’s a great choice if you’re looking to indulge without the guilt. With fiber-rich finger millet as the star ingredient, you’re not just snacking; you’re nourishing your body too! To simplify your preparation, grab some finger millet flour. Using high-quality flour will help you achieve the best texture and flavor for your chips.
Here’s a quick overview so you can keep track:
– Servings: 4
– Prep Time: 15 minutes
– Cook Time: 25 minutes
– Total Time: 40 minutes
– Calories: 150 per serving
If you’re open to experimenting, you might also want to try making these chips in an air fryer. The COSORI air fryer offers fast cooking modes and even heat distribution, which can help you achieve that perfect crispiness with up to 95% less oil. This way, you can enjoy your favorite snacks with even less guilt!
Nutrition Information: Snack Smart
Understanding what goes into your snacks is vital for maintaining a healthy lifestyle, and finger millet chips deliver impressive nutrition without compromising on taste. Finger millet, or ragi, is known for its high nutritional profile. It’s rich in calcium, iron, and fiber, making these chips not just a delicious choice but a smart one too!
Each serving of these baked chips provides about:
– Calories: 150
– Protein: 4g
– Carbohydrates: 30g
– Dietary Fiber: 5g
– Fat: 2g
– Calcium: 10% of Daily Value
– Iron: 15% of Daily Value
Incorporating these chips into your diet can boost your overall nutrient intake while satisfying your cravings. Their fiber content helps with digestion and keeps you feeling full longer, making them a perfect mid-day snack or a crunchy addition to your meals.
To make your snacking even more nutritious, consider using Finger Millet Flour in your homemade recipes. This organic ragi flour can be a versatile ingredient, allowing you to create a variety of healthy snacks that complement your lifestyle.
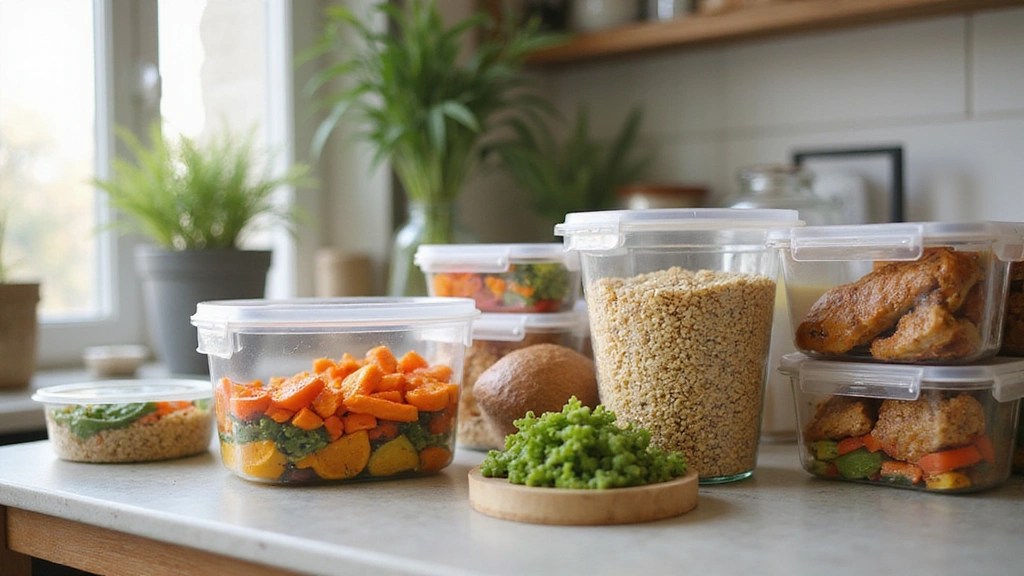
Additionally, for those days when you need a quick and convenient option, the Healthy Snack Box offers a variety of choices to satisfy your cravings while still being mindful of nutrition. This package is perfect for the office, college, or any on-the-go situation, ensuring you always have a healthy option at hand.
Snack smart with finger millet chips! With just 150 calories per serving and packed with calcium, iron, and fiber, they’re the perfect guilt-free treat for a nutritious lifestyle.
Ingredients List: What You’ll Need
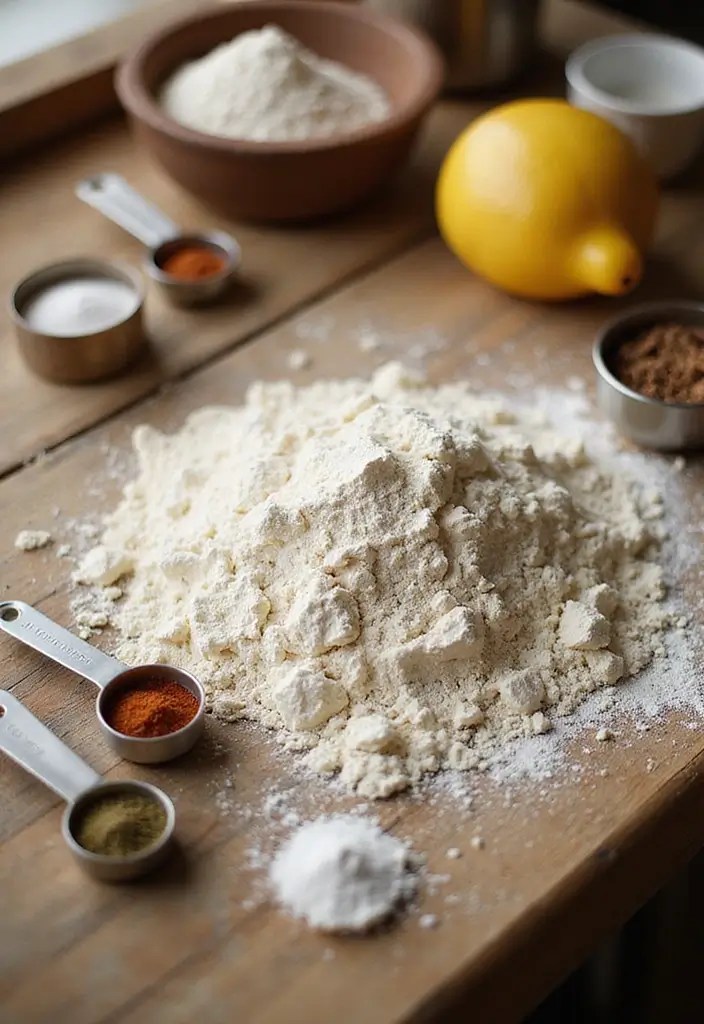
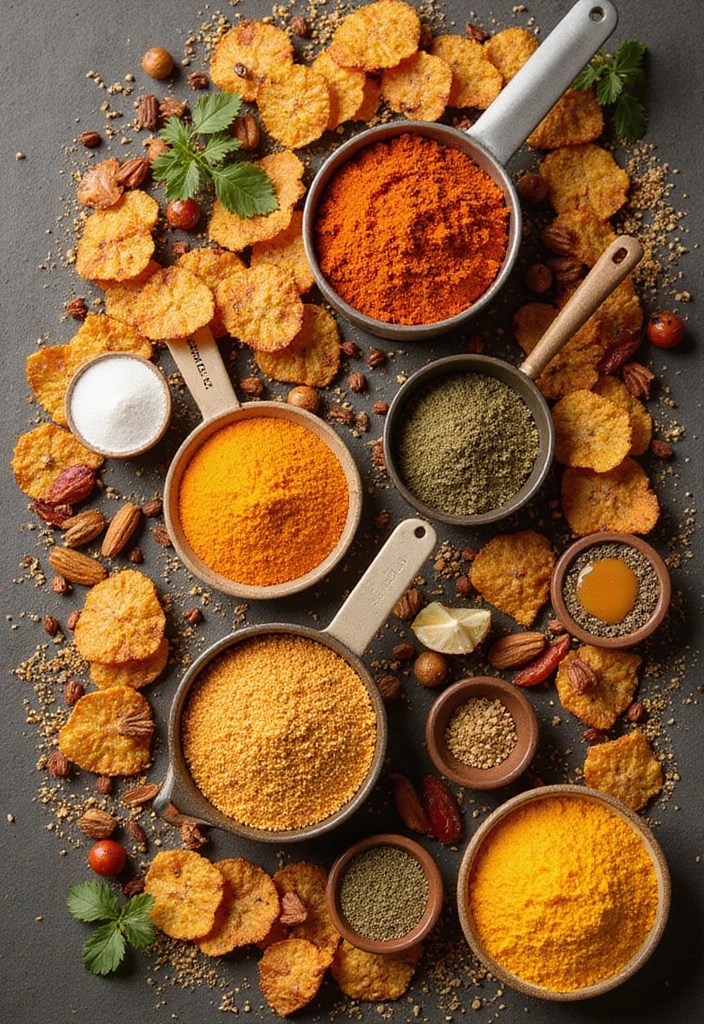
Let’s gather our ingredients before diving into the cooking process! For these scrumptious finger millet chips, you’ll need a handful of simple yet nutritious ingredients that you might already have at home or can easily find at your local grocery store:
– 1 cup finger millet flour (like Natural Organic Sprouted Ragi Flour, which is chemical- and pesticide-free)
– 1 cup water
– 1 tablespoon olive oil (such as Pompeian Smooth Extra Virgin Olive Oil, known for its health benefits)
– 1 teaspoon salt
– 1 teaspoon cumin powder (optional for extra flavor)
– 1 teaspoon chili powder (for a spicy kick, optional)
– Herbs or spices of your choice (consider using a spice set like the McCormick Gourmet Three Tier Wood Spice Rack which includes cumin and chili powder along with other delightful options)
These ingredients blend together to create a crunchy, flavorful chip that’s perfect for snacking. Feel free to customize with your favorite spices to make them uniquely yours!
Step-by-Step Instructions: Making the Chips
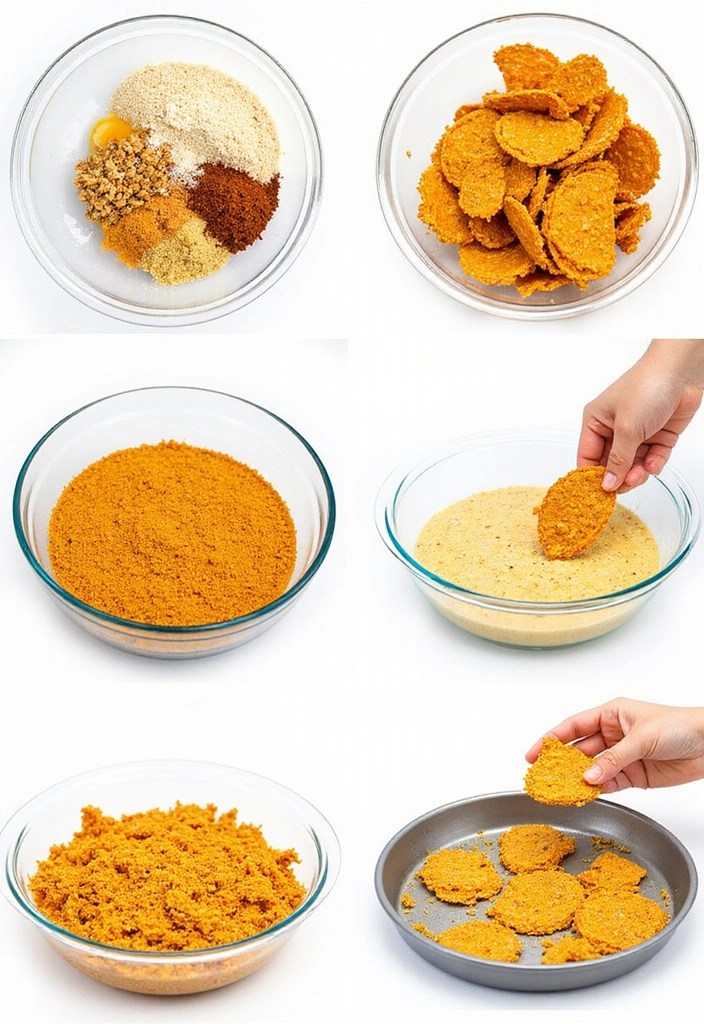
Now for the fun part—making your finger millet chips! Follow these easy steps to create a crispy snack that will have everyone coming back for more:
1. Preheat your oven to 350°F (175°C). This ensures an even baking process for your chips.
2. Mix the ingredients: In a mixing bowl, combine the finger millet flour, salt, cumin powder, and chili powder, if using. Gradually add water while stirring until you achieve a smooth batter.
3. Add olive oil: Stir in the olive oil to the batter for added richness. A handy olive oil spray bottle can make this step easier, allowing for precise control over the amount of oil you add.
4. Spread the batter: Line a baking sheet with parchment paper. Using a spatula or your hands, spread the batter evenly across the baking sheet, making a thin layer. Aim for about 1/8 inch thick to achieve the perfect crispiness. For this, parchment paper sheets are ideal as they prevent sticking and make cleanup a breeze.
5. Bake: Place the baking sheet in the preheated oven. Bake for 15 minutes, then remove and carefully flip the chips over to allow even cooking.
6. Continue baking: Bake for another 10-15 minutes or until golden brown and crispy.
7. Cool and serve: Allow the chips to cool before breaking them into desired shapes. Serve with your favorite dip, or enjoy them plain!
And voilà, you have yourself a batch of homemade finger millet chips that are sure to please! Having a silicone spatula set can be a great help throughout the process, especially when spreading your batter or flipping the chips, thanks to its nonstick design and ergonomic grip.
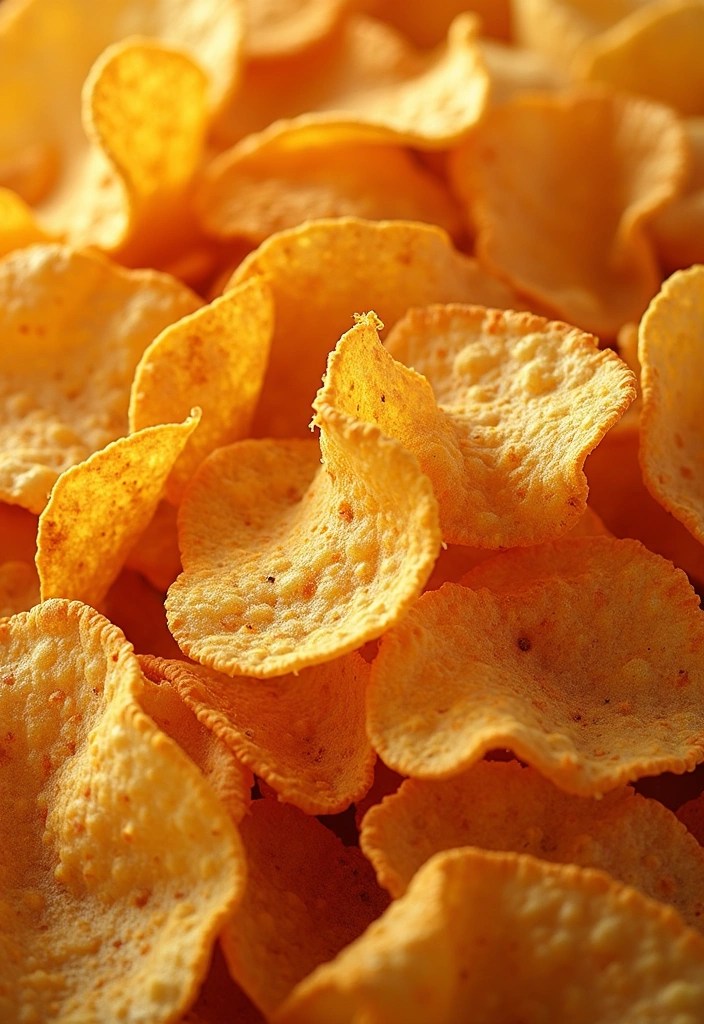
Crispy, flavorful, and guilt-free – your homemade finger millet chips are just a few steps away. Embrace the joy of baking and turn snacking into a healthy delight!
You might also like
10 Easy Meal Prep Ideas That Busy Moms Will Absolutely Love!

15 Healthy Non-Alcoholic Drinks for Winter That Taste Like a Warm Hug!
Tips for Making the Best Finger Millet Chips
Want to ensure your finger millet chips turn out perfectly crispy every time? Here are some handy tips to elevate your chip-making game:
– Thin is better: Spread the batter as thinly as possible for the crispiest chips. If they’re too thick, they may turn out chewy rather than crunchy. Using a silicone baking mat can help create an even surface for spreading your batter.
– Experiment with seasoning: Try different spices or herbs to create unique flavors—perhaps a touch of paprika for smokiness or garlic powder for an aromatic punch. A quality spice grinder will help you achieve the perfect texture for your seasonings, allowing for a more pronounced flavor in your chips.
– Keep an eye on them: Oven temperatures can vary. Keep a close watch on your chips during the last few minutes of baking to avoid burning. This is crucial for achieving that perfect crunch.
– Allow to cool: Don’t skip the cooling step! Letting the chips cool on the baking sheet helps them firm up, ensuring maximum crunch.
– Storage tip: If you have leftovers, store them in an airtight food storage container at room temperature to maintain their crispness. They may soften in the fridge, so avoid that!
With these tips, you’ll make finger millet chips that are not only healthy but utterly irresistible!
Frequently Asked Questions about Finger Millet Chips
Curious about finger millet chips? Here are some common questions and answers to help you out:
– Can I use other flours? Yes! While finger millet flour is the star here, you can blend it with other flours like rice or corn to experiment with texture and flavor. For a great option, try TAJ Ragi Flour, Finger Millet Flour to ensure the best results.
– Are these chips gluten-free? Absolutely! Finger millet is gluten-free, making these chips safe for those with gluten sensitivities.
– How long do they last? If stored properly in an airtight container, these chips can last for up to a week, though they’re unlikely to last that long! To keep them fresh, consider using a Sistema KLIP IT food storage container. Its airtight and stackable design ensures that your chips stay crispy.
– Can I make them spicy? Of course! Add extra chili powder or other spices according to your taste preference. A well-stocked spice rack can help you explore different flavors, like the McCormick Gourmet three tier wood spice rack, which features a variety of organic spices to elevate your chips.
– What dips pair well with finger millet chips? They’re delicious with hummus, guacamole, or a yogurt-based dip.
This section is all about making sure you have the info you need to enjoy your finger millet chips to the fullest!
Snack smart with finger millet chips! Gluten-free and versatile, these crunchy delights can pair well with your favorite flours to create a guilt-free treat that’s as delicious as it is healthy.
You Might Also Like
12 Healthy Egg Breakfast Recipes You Can Make in Under 15 Minutes!
15 Healthy Dinner Recipes That Are So Delicious You Won’t Believe They’re Good for You!
Conclusion: Crunch Your Way to Health!
There you have it—your ultimate guide to creating crispy, delicious, and guilt-free finger millet chips! They’re easy to make, full of flavor, and provide a healthy alternative to conventional snacks. Whether you’re hosting friends or just enjoying a quiet night in, these chips are bound to impress.
Why not give them a try today and see how they fit into your snacking routine? With endless flavor possibilities, you can make each batch unique. Happy snacking!
Note: We aim to provide accurate product links, but some may occasionally expire or become unavailable. If this happens, please search directly on Amazon for the product or a suitable alternative.
This post contains Amazon affiliate links, meaning I may earn a small commission if you purchase through my links, at no extra cost to you.
Frequently Asked Questions
What are the main health benefits of finger millet chips?
Finger millet chips are packed with nutrients! They are rich in calcium, iron, and fiber, making them a fantastic choice for bone health and digestive wellness. Plus, they have a low glycemic index, which can help in managing blood sugar levels, perfect for anyone looking for a guilt-free snack!
Can I customize the flavor of my baked finger millet chips?
Absolutely! You can experiment with various spices and herbs to create your own unique flavor profile. Try adding cumin, paprika, or even a dash of garlic powder to spice things up. Don’t hesitate to get creative and make the recipe your own!
How can I store leftover finger millet chips?
To keep your finger millet chips crispy, store them in an airtight container at room temperature. They should stay fresh for about a week. If you want to enjoy them longer, consider freezing them; just make sure to re-crisp them in the oven before serving!
Are finger millet chips suitable for gluten-free diets?
Yes! Finger millet is naturally gluten-free, making these chips a wonderful snack for anyone following a gluten-free diet. Just ensure that all your other ingredients are also gluten-free to keep your snacks safe and delicious!
What can I serve with finger millet chips for a complete snack?
Pair your finger millet chips with some healthy dips like hummus, guacamole, or a zesty salsa for a delightful snack experience. This not only enhances the flavor but also adds a nutritious boost, making your snack even more satisfying!

Leave a comment