
Wallpaper peeling can be a real eyesore, making even the most beautifully decorated room feel neglected.
But worry not! There are simple tricks that can save your walls from falling to the dreaded moisture damage and peeling wallpaper.
With just a little effort and some straightforward hacks, you can turn your space into a stunning showcase without the ugly distractions. Get ready to revive those walls and bring back the charm of your home decor!
Contents
- 1. Choose the Right Wallpaper Material
- 2. Proper Surface Preparation
- 3. Use the Right Adhesive
- 4. Perfect Application Technique
- 5. Regular Maintenance Checks
- 6. Control Humidity Levels
- 7. Repairing Peeling Wallpaper
- 8. Use Wallpaper Protectors
- 9. Experiment with Temporary Wallpaper
- 10. Seek Professional Help When Needed
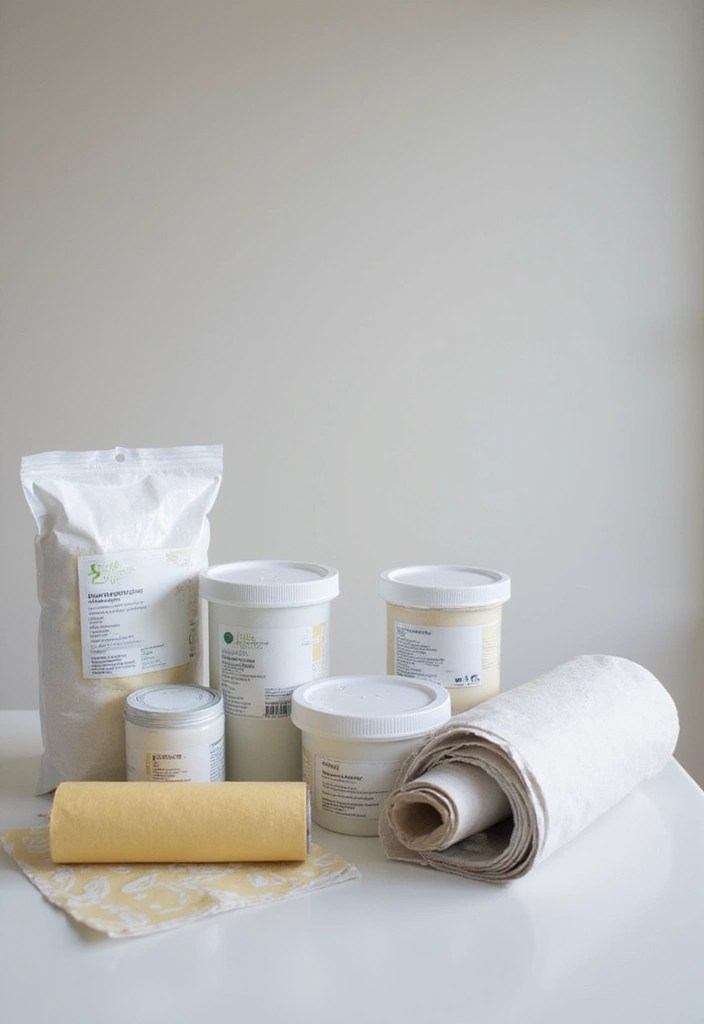
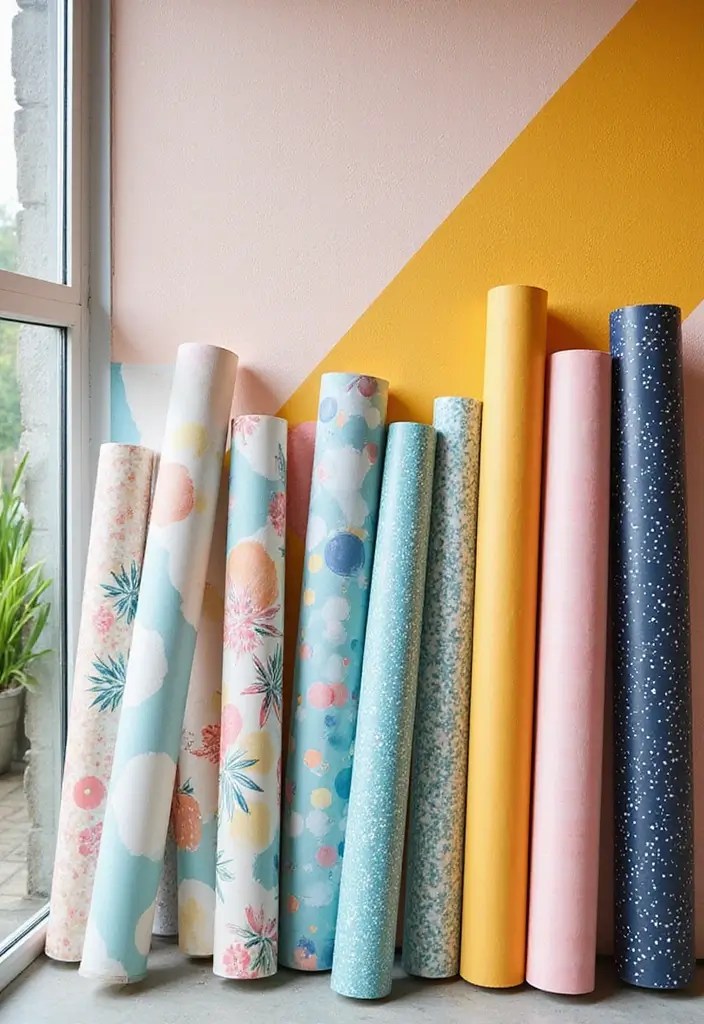
1. Choose the Right Wallpaper Material

Selecting the right wallpaper material is crucial in preventing peeling and moisture damage. For areas prone to humidity, like bathrooms and kitchens, consider using Dimoon 17.7”x118” peel and stick wallpaper. This modern vinyl wrap is easy to clean, moisture-resistant, and comes in a variety of designs, making it an excellent choice to keep your walls looking fresh.
Another great option is mamonhome silver gray self-adhesive removable wallpaper. Made from non-woven material, this wallpaper is breathable, which helps prevent mold buildup, and works well in areas with fluctuating temperatures.
When choosing the right wallpaper, keep in mind the following tips:
– Assess the room’s humidity levels.
– Opt for wallpapers with a protective coating.
– Test samples before committing to an entire roll.
By prioritizing quality materials like these, your wallpaper can maintain its beauty for years to come, ensuring your decor remains vibrant and inviting.
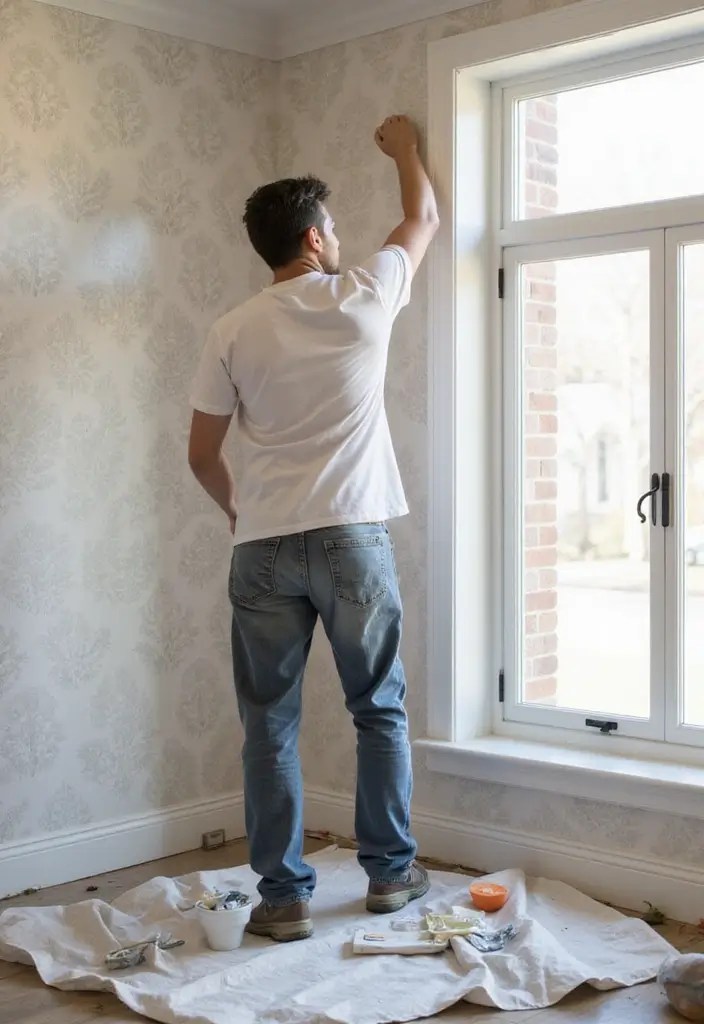
2. Proper Surface Preparation
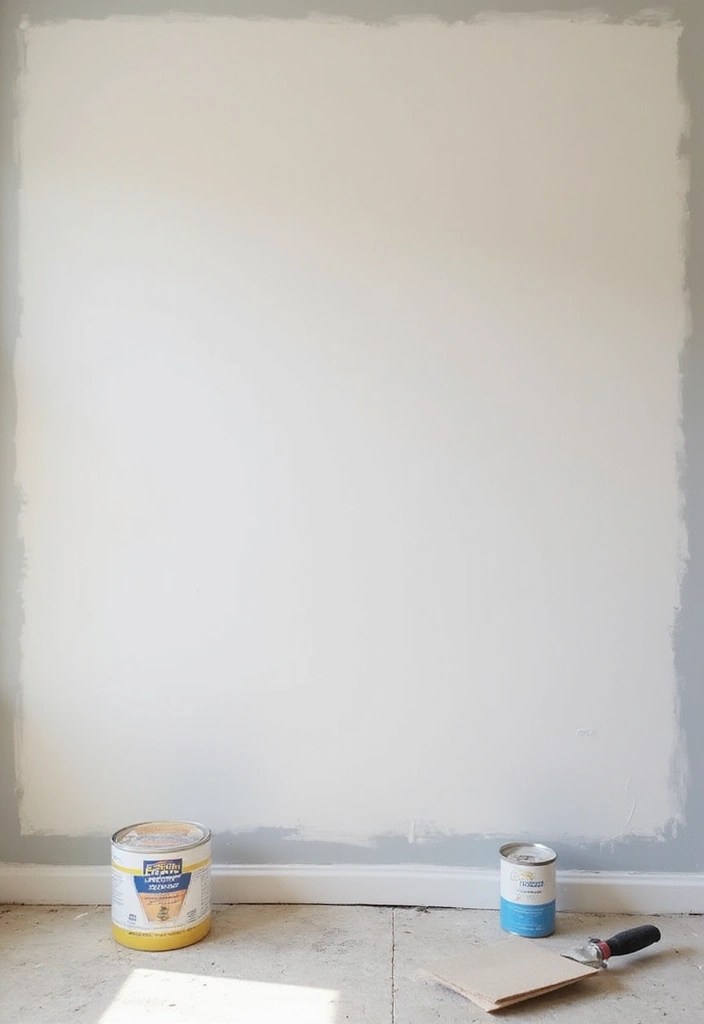
Before you even think about applying wallpaper, surface preparation is key. If the surface isn’t clean, dry, and smooth, even the best wallpaper won’t stick properly.
Start by washing the wall to remove dust and grease. This is crucial for ensuring a clean canvas for your wallpaper. Next, patch any holes or cracks with Dap 12330 DryDex interior/exterior spackling. This product helps create a smooth finish by filling in imperfections, ensuring a solid surface for your wallpaper to adhere to.
Here are essential steps for effective preparation:
– Remove old wallpaper completely to avoid any adhesive residue that can hinder the new application.
– Lightly sand the walls with a Romeda 8-pack sanding sponge. This will create a better bonding surface by lightly scuffing the wall, allowing the new wallpaper to grip better.
– Prime the walls with Rust-Oleum ZINSSER Bulls Eye 1-2-3 water-based stain blocking primer/sealer to prevent moisture from seeping through. Priming not only enhances adhesion but also protects your walls from moisture damage.
Taking the time to prep your walls with these products not only enhances adhesion but also prolongs the life of your wallpaper.
3. Use the Right Adhesive
Not all adhesives are created equal, especially when it comes to wallpaper. Choosing the right adhesive can make a world of difference in preventing peeling and ensuring your wallpaper stays intact.
Look for adhesives specifically formulated for the type of wallpaper you’ve chosen. For instance, paste-the-wall adhesives are ideal for non-woven wallpapers, such as the Roman PRO-880 Wallpaper Adhesive & Paste for Any Wallcovering, which is ultra clear and strippable, covering up to 330 sq. Ft. This product provides a strong bond, making it perfect for non-woven options.
If you’re working with vinyl wallpaper, consider using a heavy-duty option like Zinsser SureGrip 122 Heavy Duty Wallcovering Adhesive. This adhesive is specially designed for durability, ensuring that your vinyl wallpaper remains secure and looks great.
When selecting adhesive, keep these tips in mind:
– Always check the manufacturer’s recommendations.
– Don’t skimp on quality; cheaper options may not provide the longevity you need.
– Ensure you apply an even layer for a strong bond.
Investing in the right adhesive will give you peace of mind, knowing your wallpaper is secure and protected against moisture damage.
4. Perfect Application Technique
How you apply your wallpaper can determine its longevity. A perfect application technique will help you avoid air bubbles and loose edges that can lead to peeling.
Start from the top and work your way down, ensuring each strip is aligned properly. Using a smoothing tool, like the Art3d smoothing tool, can help you push out air bubbles as you go, ensuring a smooth finish.
Here are some vital tips:
– Take your time; rushing can cause mistakes.
– Use a level or plumb line, such as the Torpedo level, to keep your edges straight.
– Apply gentle pressure but avoid using too much force.
Employing the right technique along with these tools will not only enhance the look of your walls but also ensure a tight bond with no peeling. For added assurance, consider using Roman’s E-Z Hang wallpaper adhesive, which acts as a helper in securing your wallpaper in place and prevents moisture damage.
5. Regular Maintenance Checks
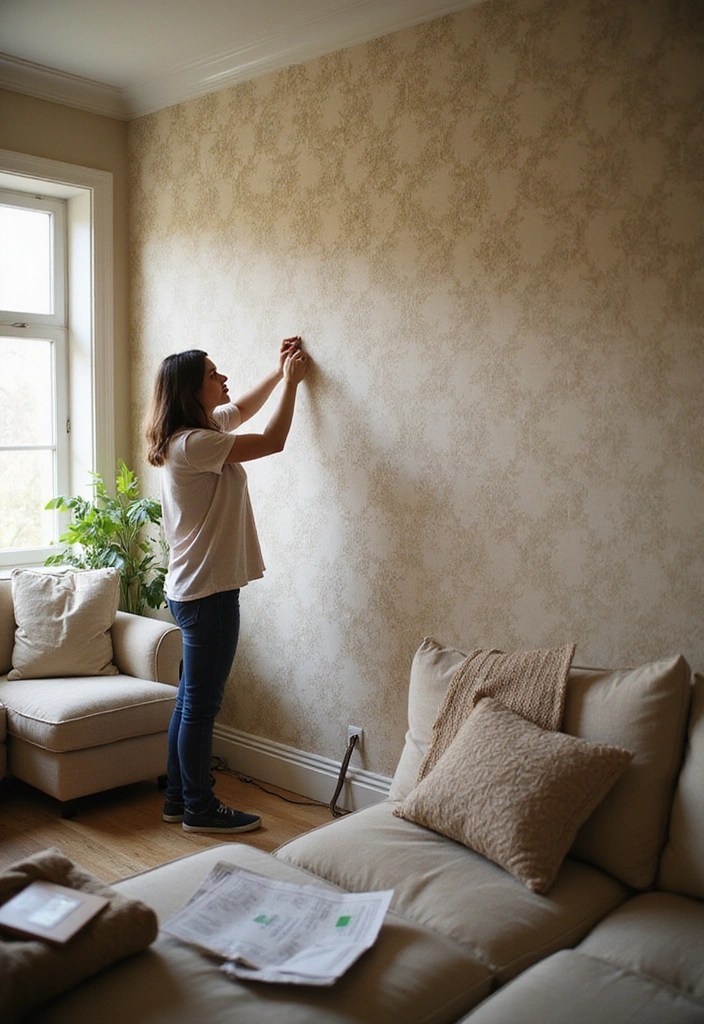
Maintaining wallpaper is much easier than you think, and regular checks can help you catch peeling or damage early before it becomes a bigger problem.
Set a schedule to inspect your walls every few months. Look for signs of moisture damage, peeling, or any discoloration. To assist you in this process, consider using a moisture meter like the Klein Tools ET140, which allows you to detect moisture levels in drywall, wood, and masonry without damaging the surface. This can help you identify potential issues before they escalate.
To keep your wallpaper in top condition, you can also clean gently with a damp cloth cleaning set like the FIXSMITH microfiber cleaning cloths. These highly absorbent, reusable towels are perfect for removing dust without harming the wallpaper.
If you notice any peeling, don’t hesitate to address it immediately. Using a reliable solution like wallpaper adhesive from Roman can help you reattach loose sections and prevent further damage.
By staying proactive and using these helpful products, you can maintain the beauty of your wallpaper for years, keeping your home decor fresh.
You might also like

Cheat Your Way to Luxe Walls: 12 Wallpaper Hacks That Look High-End on a Shoestring Budget
10 Stunning Wall Decor Ideas That Aren’t Wallpaper (Budget-Friendly & Chic!)
6. Control Humidity Levels
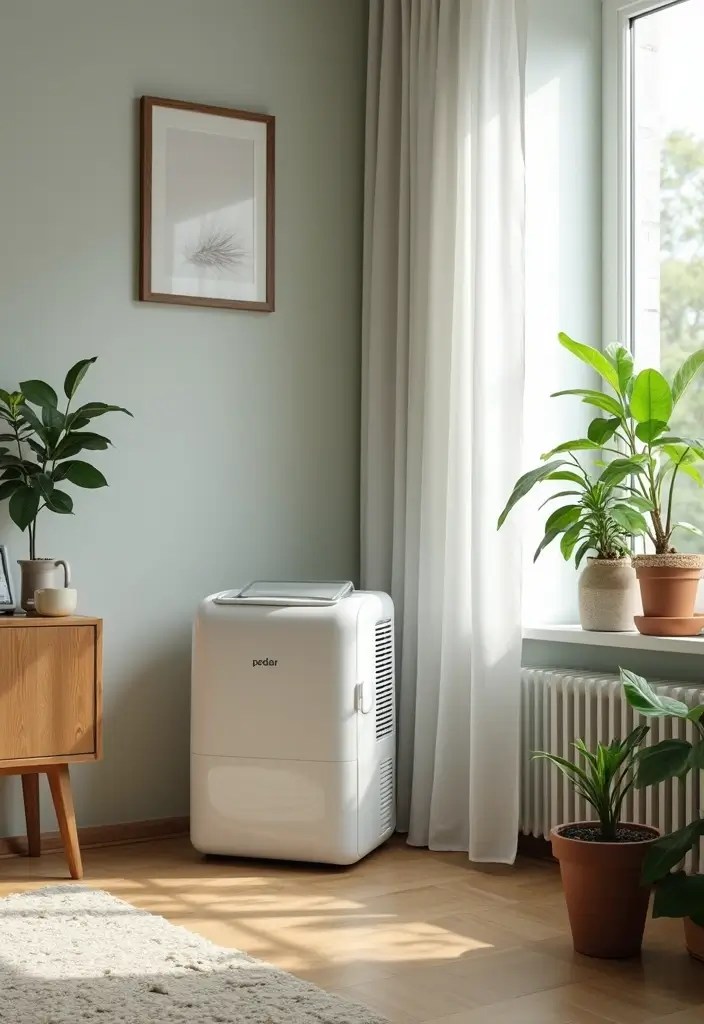
Humidity is one of the biggest enemies to wallpaper adhesion. Excess moisture in the air can lead to peeling and mold growth. To combat this, using a dehumidifier, like the Dehumidifier, TABYIK 35 OZ, in areas prone to high humidity, such as bathrooms, can effectively keep moisture at bay. This quiet unit is perfect for spaces up to 280 sq. Ft., ensuring your wallpaper remains firmly in place while preventing the growth of mold.
Additionally, ensuring proper ventilation is crucial for creating a healthier environment for your wallpaper. Installing exhaust fans, like the iLIVING 12″ Wall Mounted Shutter Exhaust Fan, can help circulate air and reduce humidity levels. This fan has a thermostat and variable speed controller, providing flexibility in managing airflow in your home.
Another useful tool is a hygrometer, such as the ThermoPro TP50 Digital Hygrometer. This device monitors your indoor humidity levels, allowing you to take action before moisture becomes a problem.
Consider these actions to manage humidity effectively:
– Use a dehumidifier in high humidity areas.
– Install exhaust fans in bathrooms and kitchens for better air circulation.
– Keep windows open when possible for improved airflow.
– Monitor humidity levels with a hygrometer to maintain an optimal environment.
Controlling humidity not only protects your wallpaper but also contributes to a healthier living space.
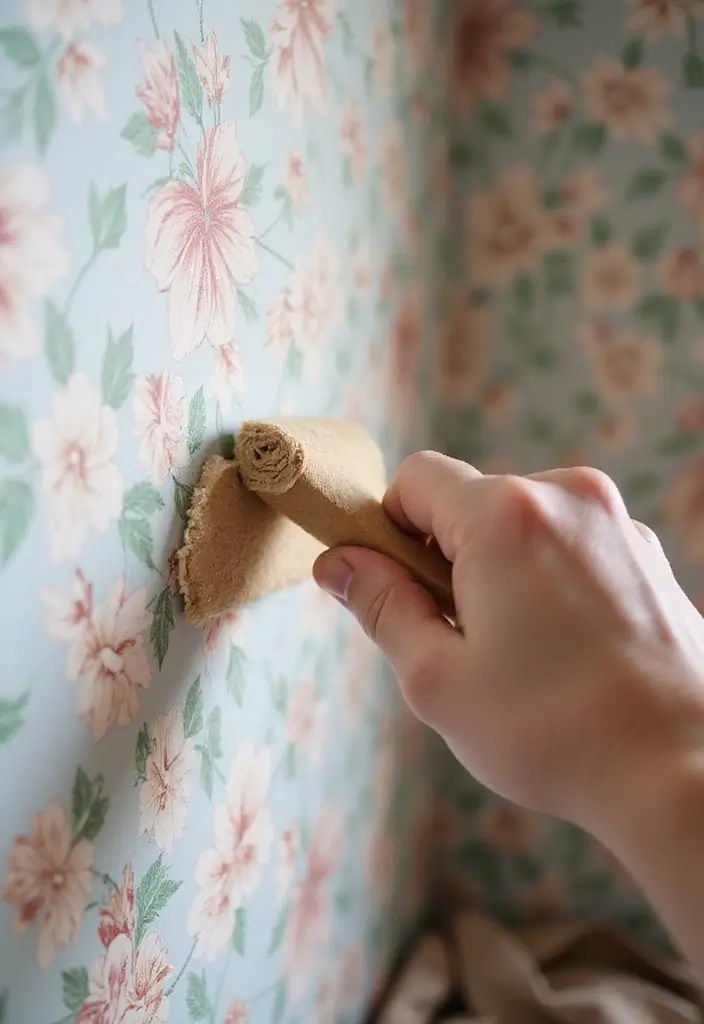
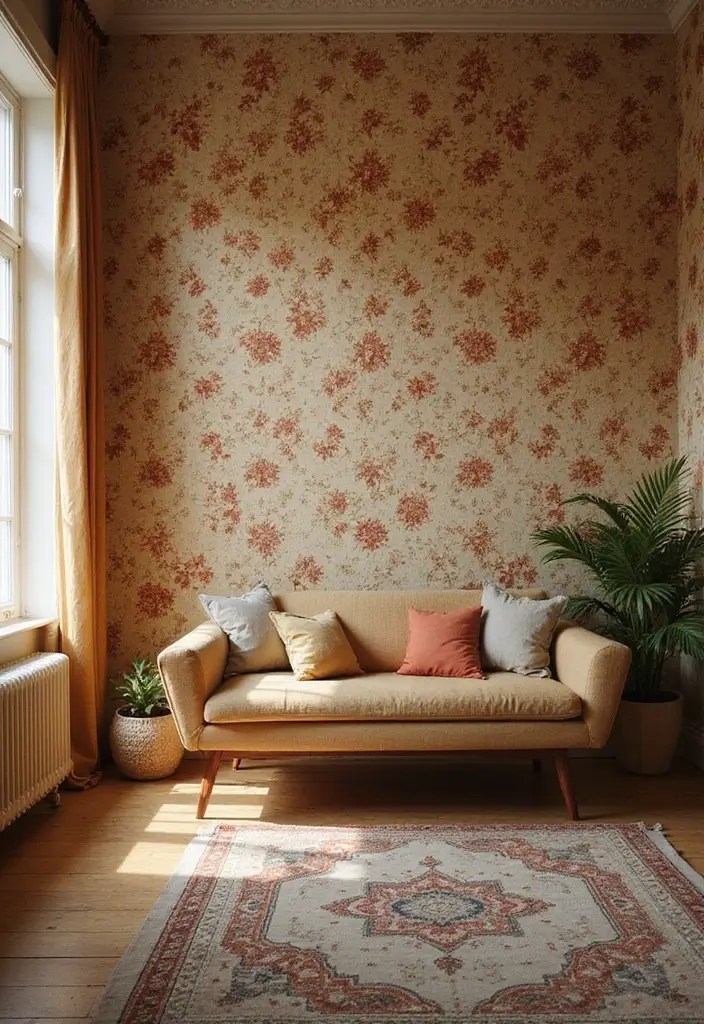
7. Repairing Peeling Wallpaper
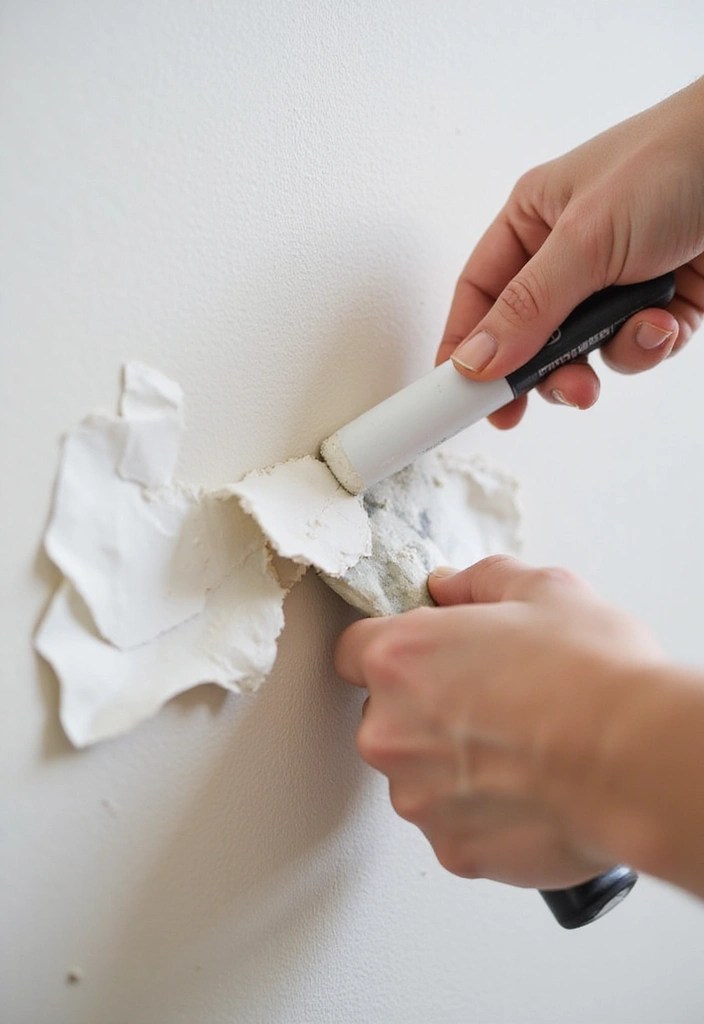
If you notice your wallpaper starting to peel, it’s important to act quickly to prevent further damage.
Start by gently lifting the affected area and applying a small amount of adhesive underneath. For this, Roman’s E-Z Hang Peel & Stick Wallpaper Helper is an excellent choice, as it’s clear, non-staining, and designed to prevent future peeling. Press the wallpaper back down and smooth out any bubbles to secure it.
If the peel is extensive, you may need to remove the entire strip and reapply. Here are steps for repairing peeling wallpaper:
– Clean the area thoroughly before applying adhesive. A good option is Absorene Paper Book & Paper Wallpaper Cleaner, which effectively removes dirt and grime, ensuring a clean surface for the adhesive.
– Use a seam roller, such as the seam roller, for a tight bond. This tool helps press the wallpaper down firmly, eliminating bubbles and ensuring it adheres properly.
– Blend the edges with a wallpaper cleaner if there’s discoloration.
Swift action can save your wallpaper and keep your decor looking polished.
Don’t let peeling wallpaper dampen your decor dreams! A quick adhesive fix can save your walls from further damage and keep your home looking fresh and fabulous.
8. Use Wallpaper Protectors
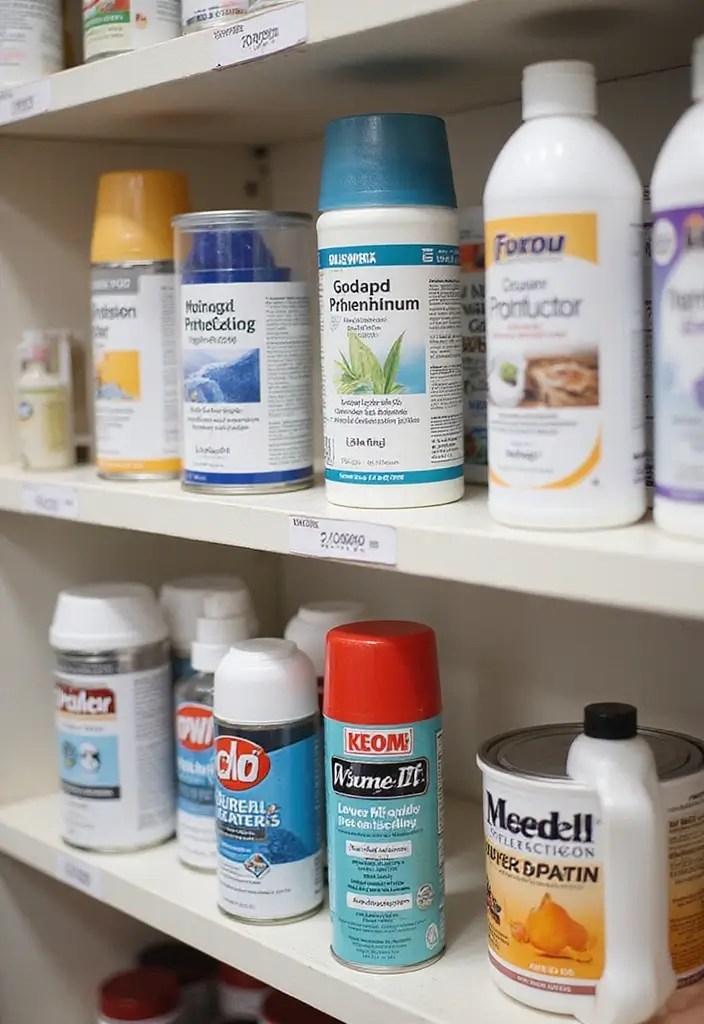
Wallpaper protectors can be a game-changer, especially in busy households. These products create a barrier that shields your wallpaper from moisture and stains. For instance, using a clear protective coating, like clear wallpaper protector spray, helps repel water damage and dirt, ensuring your wallpaper stays in top shape.
To enhance the effectiveness of your protectors, consider using a product like Zinsser Gardz water-based problem surface sealer. This sealant not only forms a robust shield against moisture but also prepares the wallpaper surface for optimal adhesion. Remember to follow the manufacturer’s instructions for application, and always make sure the wallpaper is clean before applying any protectors.
For ongoing maintenance, a wallpaper maintenance kit can be invaluable. This kit provides you with the tools necessary to smooth out any imperfections and maintain your wallpaper’s flawless appearance over time. Reapply your protectors every few years to ensure continued protection.
Using wallpaper protectors not only enhances durability but also eases maintenance, keeping your walls looking fabulous.
Protect your walls like a pro! A clear wallpaper protector is your best defense against moisture and stains—because beautiful walls deserve the best care!
You Might Also Like

10 Stunning Ways to Transform Your Staircase with Decoration
5 Simple Home Decor Tips You’ll Love (Transform Your Space Today!)
9. Experiment with Temporary Wallpaper
If you love changing your decor often, consider opting for temporary wallpaper. This type of wallpaper is easy to apply and can be removed without damaging your walls, making it a breeze to switch up your style.
Temporary wallpaper is available in countless designs and can be a fun way to experiment with color and pattern without commitment. For instance, you might try the Erfoni black and white peel and stick wallpaper, which features a modern herringbone geometric pattern that’s perfect for adding a stylish touch to any room.
Here’s why temporary wallpaper is a fantastic option:
– Easy installation and removal.
– Ideal for renters who want to personalize their space.
– Variety of styles available to match any decor.
To make your installation even smoother, consider using the Art3d smoothing tool kit for applying peel and stick wallpaper. This tool helps you achieve a flawless finish and minimizes the chances of air bubbles, ensuring your wallpaper looks great.
If you’re looking for a little extra help, the Roman’s E-Z Hang peel & stick wallpaper helper can be a game changer. This clear, non-staining activator makes it easier to reposition your wallpaper as you work, ensuring you get it just right.
It’s a stylish, flexible solution that prevents peeling while allowing you to have fun with your home decor.
10. Seek Professional Help When Needed
Sometimes, wallpaper woes require a professional touch. If your wallpaper is extensively peeling or damaged, or if you’re unsure about your DIY skills, don’t hesitate to call a pro. Professional wallpaper installers are experienced in ensuring a flawless finish while preventing future issues.
In addition to professional help, there are some products that can assist in addressing wallpaper concerns. For instance, using Roman’s E-Z Hang Peel & Stick Wallpaper Helper can provide the right adhesive solution, making sure your wallpaper adheres perfectly and reducing the chances of peeling.
If moisture is a concern in your space, applying a protective layer like KILZ Basement and Masonry Waterproofing Paint can act as a moisture barrier, safeguarding your walls against dampness that can lead to wallpaper issues.
Additionally, for a smooth application, consider using an Art3d Smoothing Tool Kit. This tool will help you achieve a professional finish when applying peel and stick wallpaper, ensuring that there are no bubbles or creases.
Here are some reasons to consider hiring a professional:
– Their expertise can save you time and stress.
– They have the right tools for a smooth application.
– You’ll ultimately extend the life of your wallpaper with proper installation.
Investing in professional help can be worthwhile, leaving you with beautifully adorned walls and peace of mind.
When in doubt, seek a pro! Expert help not only saves you time but also ensures your wallpaper stays beautiful and intact for years to come. Don’t let peeling walls steal your style!
Conclusion
Reviving your walls doesn’t have to be a daunting task. With these simple hacks, you can effectively prevent wallpaper peeling and moisture damage while enhancing your home decor.
Remember to choose quality materials, maintain humidity levels, and address peeling promptly to keep your space looking its best.
Whether you’re a DIY enthusiast or prefer calling in the pros, your walls deserve the best care possible!
Note: We aim to provide accurate product links, but some may occasionally expire or become unavailable. If this happens, please search directly on Amazon for the product or a suitable alternative.
This post contains Amazon affiliate links, meaning I may earn a small commission if you purchase through my links, at no extra cost to you.
Frequently Asked Questions
What are the best wallpaper materials to prevent peeling?
Choosing the right wallpaper material is crucial in preventing peeling and moisture damage. For areas prone to humidity, like bathrooms and kitchens, opt for materials like vinyl or moisture-resistant paper. These options are designed to withstand moisture and stay intact, giving your walls a longer-lasting look without the dreaded peeling!
How can I prepare my walls before applying wallpaper?
Proper surface preparation is key to wallpaper adhesion. Start by washing your walls to remove dirt and grease, and make sure they’re completely dry and smooth. If there are any imperfections, fill them in for a flawless finish. This step ensures your wallpaper sticks well, reducing the risk of peeling in the future!
What type of adhesive should I use for my wallpaper?
Not all adhesives are created equal! For optimal results, choose an adhesive specifically designed for the type of wallpaper you’re using. For example, paste-the-wall adhesives are great for easy application and removal, while traditional paste is ideal for heavier wallpapers. The right adhesive can significantly reduce peeling and moisture damage!
How can I maintain my wallpaper to prevent damage?
Regular maintenance checks are essential to keeping your wallpaper looking fresh! Set a schedule to inspect your walls every few months. Look for signs of peeling or damage and address them quickly to prevent further issues. A gentle wipe with a damp cloth can also help keep your wallpaper clean and vibrant!
What should I do if my wallpaper starts to peel?
If you notice your wallpaper beginning to peel, don’t panic! Start by gently lifting the affected area and apply a small amount of adhesive underneath. Press it back down firmly, and if needed, add a weight to keep it in place while it dries. Addressing peeling early can save your wallpaper from more extensive damage down the line!

Leave a comment