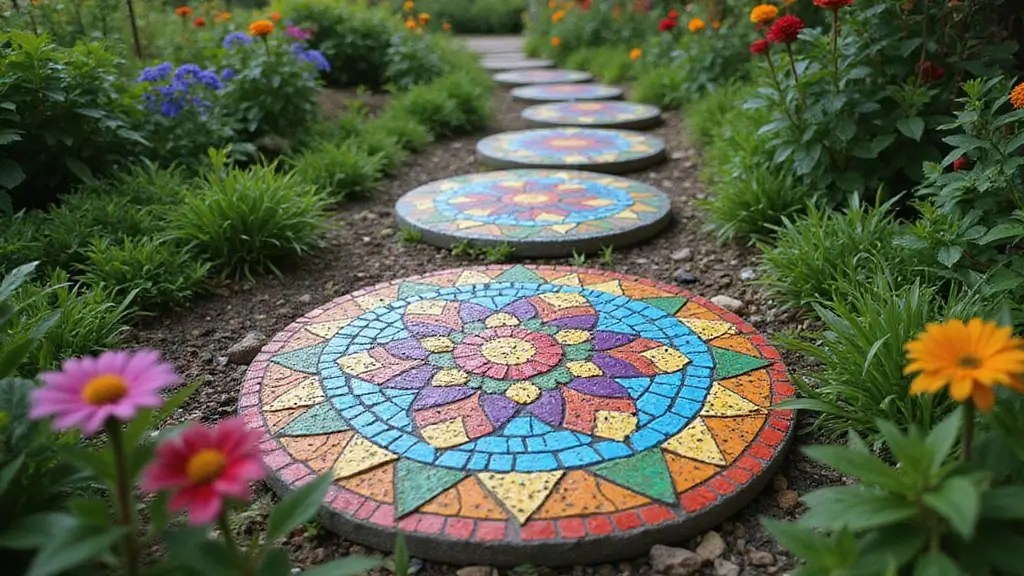
Transform your outdoor space with delightful DIY garden stepping stones that add a splash of personality and color to your patio path.
From vibrant mosaics to intricate designs, crafting your own stepping stones is not only a fun weekend project, but it also allows you to express your creativity.
With just a few materials and a bit of imagination, you can create unique additions that enhance the beauty of your garden. Get ready to gather your supplies and let your artistic side shine!
Contents
- 1. Gather Your Materials
- 2. Choosing Your Design
- 3. Create Your Concrete Base
- 4. Add Your Mosaics
- 5. Let the Stones Cure
- 6. Finishing Touches
- 7. Placement and Arrangement
- 8. Adding More Personalization
- 9. Maintenance Tips
- 10. Join the Community of DIY Enthusiasts
1. Gather Your Materials
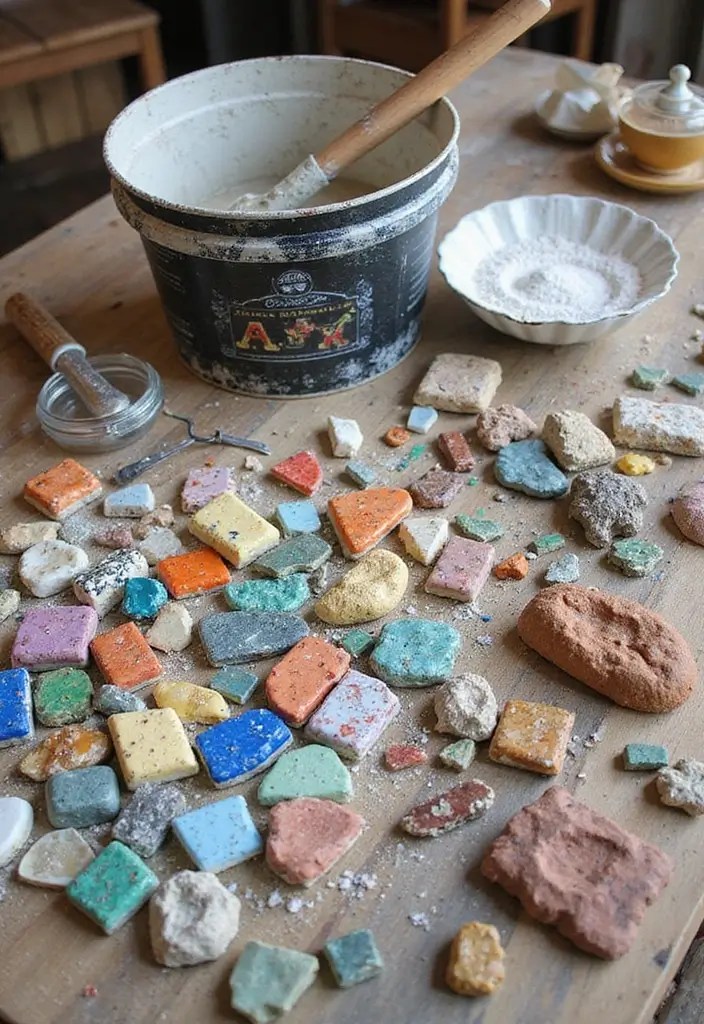
Before you jump into creating your masterpiece, it’s crucial to gather all the materials you’ll need. A basic list includes concrete mix, water, a mixing container, molds, and of course, mosaic pieces like tiles, glass, or stones.
Make sure to choose mosaics that resonate with your garden theme. For example, if your garden is filled with vibrant flowers, colorful tiles would harmoniously blend in. If you prefer a more rustic look, natural stones might be your best bet.
Check local dollar stores or craft shops for affordable mosaic supplies.
Also, don’t forget to wear gloves when handling materials to protect your hands. This initial preparation phase sets the foundation for a successful and enjoyable DIY project.
Gather your materials wisely; the right mosaic pieces will bring your DIY garden stepping stones to life and harmonize beautifully with your outdoor oasis!
Product Recommendations:
• Mosaic Tile Assortment for Crafts
• Concrete Mix for Garden Projects
• Silicone Molds for Stepping Stones
2. Choosing Your Design
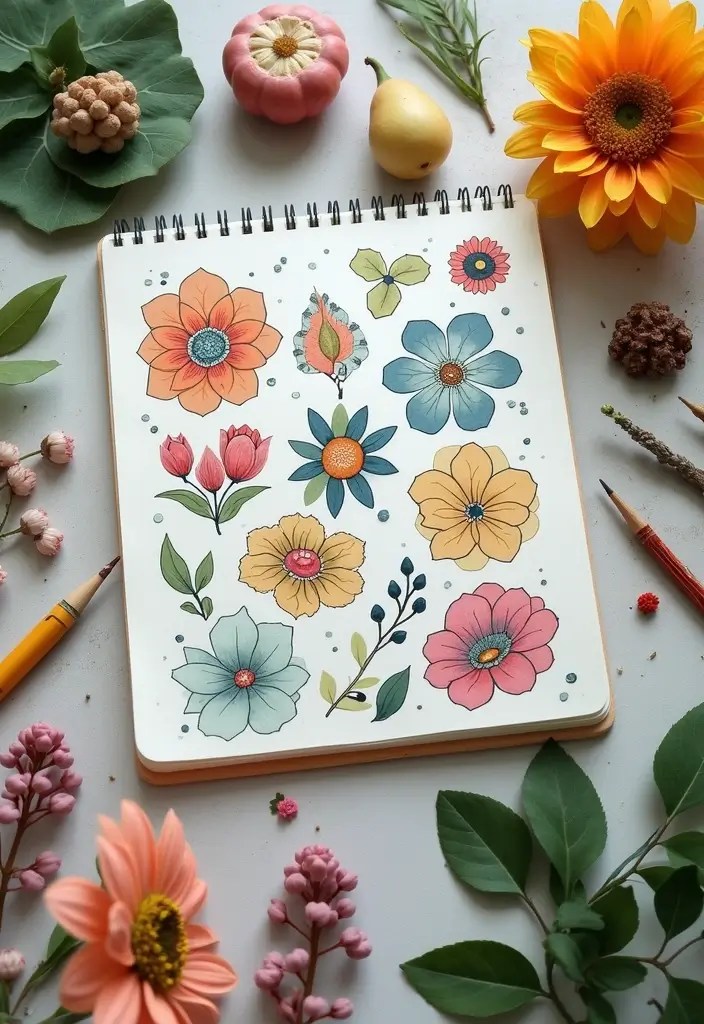
The design you choose can make or break your stepping stones. Spend some time brainstorming ideas that reflect your personality or garden theme.
Consider incorporating natural elements like leaves or flowers into your design. They can be pressed into the wet concrete for an organic look. You can also opt for geometric patterns or whimsical shapes that catch the eye.
Sketching your design on paper first can help visualize how it will look on the stone. You can also gather inspiration from Pinterest boards or gardening websites to get ideas.
A strong design will provide a great backdrop for your chosen mosaics and let your creativity shine.
Product Recommendations:
• Concrete mix for DIY projects
3. Create Your Concrete Base
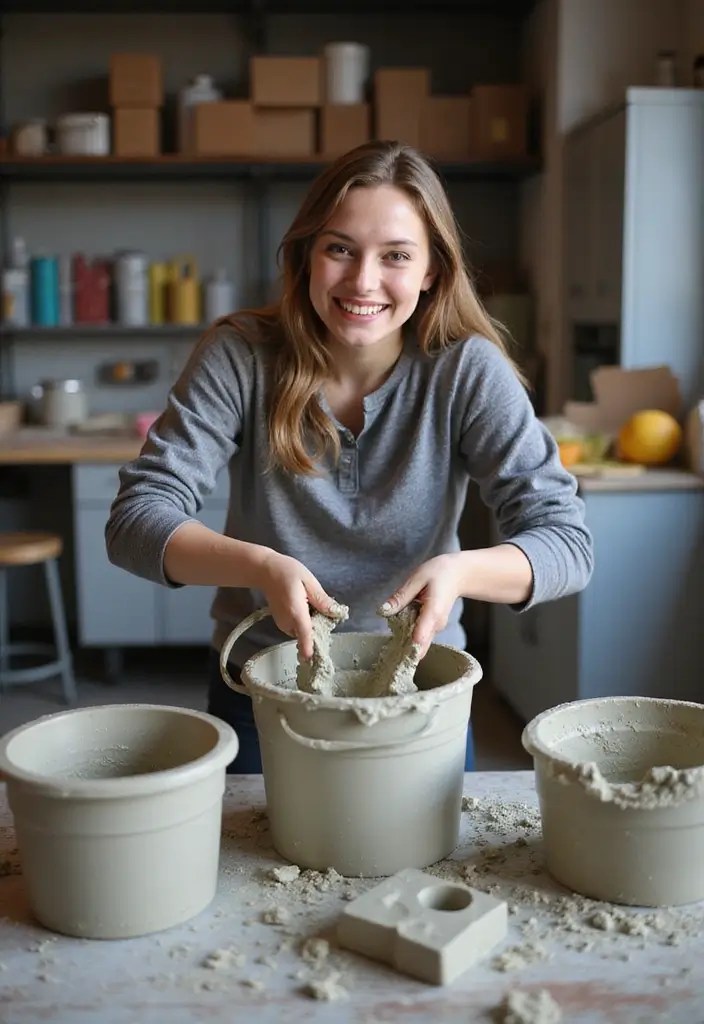
Mixing the concrete is arguably the most fun part! Start with a concrete mix and water in your mixing container, following the manufacturer’s instructions for the right consistency.
Aim for a texture that’s not too runny but also not too dry—think of pancake batter! Once mixed, pour the concrete into your molds, filling them about an inch thick.
Use a spatula to smooth the surface and ensure a solid base for your mosaics. This step is essential for making sure your design will hold up.
Remember to work quickly as the concrete will start to set within a short time frame. If you’re feeling adventurous, adding decor items like beads or shells to the surface provides additional flair.
Product Recommendations:
4. Add Your Mosaics
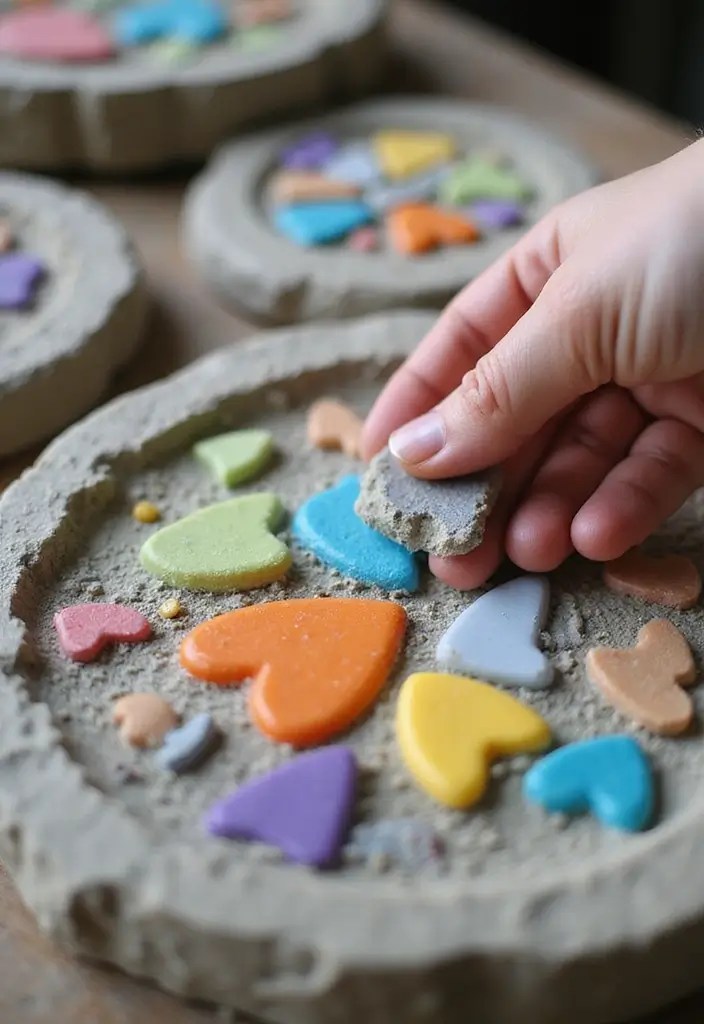
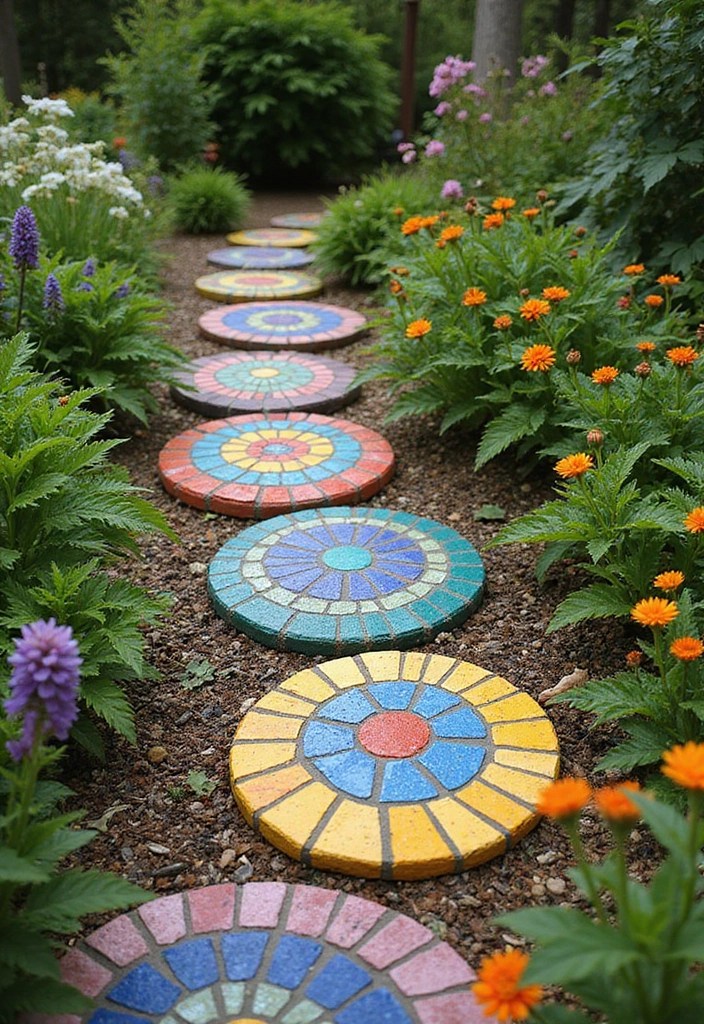
Once your concrete base is ready, the real fun begins! Carefully place your mosaic pieces into the wet concrete. You can arrange them in your planned design or simply go with a freeform style.
Press each piece down gently to ensure they are set securely into the concrete. This is your chance to express your artistic flair—don’t be afraid to mix colors, textures, and shapes!
Readjust your pieces as needed before the concrete sets. Work methodically, and step back occasionally to gauge how the overall piece is coming together.
The more unique and colorful your mosaic, the more it will pop in your garden. Consider using glow-in-the-dark pieces for a magical nighttime effect.
Unleash your creativity! Adding mosaics to your DIY garden stepping stones is the perfect way to blend colors and textures—making your patio path a true reflection of you.
Product Recommendations:
• Concrete stepping stone mold
• Glow-in-the-dark mosaic tiles
5. Let the Stones Cure
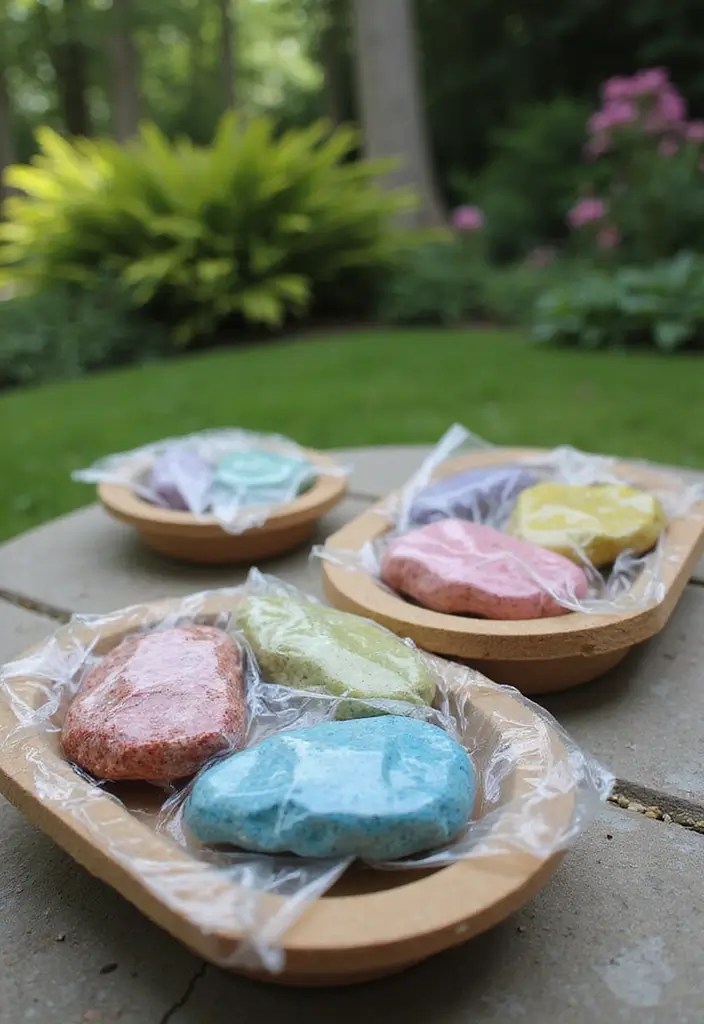
Patience pays off when it comes to letting your stepping stones cure. Once you’ve added your mosaics and are happy with the design, it’s time to let them set.
Cover the molds with plastic wrap to prevent moisture loss and keep the stones from drying too quickly. Leave them to cure for at least 48 hours—longer if you used larger molds or thicker concrete bases.
This period is essential because it ensures the stones harden properly and become durable enough to withstand outdoor elements. Remember to check on them occasionally to ensure they remain covered and protected.
If you’re eager to see your creations, resist the temptation to rush this step—you’ll be glad you waited!
Product Recommendations:
6. Finishing Touches
After your stones have cured, it’s time to add some finishing touches. Consider applying a sealant to protect the surface of your mosaics from weather elements and fading.
This is especially important if you used glass or tiles, as they can become brittle over time. Choose a sealant suitable for outdoor use and follow the instructions carefully.
If you want to add more shine, you can buff the stones with a soft cloth after the sealant has dried.
These finishing touches give your stepping stones a polished look and extend their life, ensuring your garden remains beautiful for years to come.
Seal the deal! A protective coat not only preserves your stunning DIY garden stepping stones but also adds a beautiful shine. Remember, a little care goes a long way in keeping your patio path vibrant!
Product Recommendations:
• Outdoor sealant for stone and tile
• soft microfiber cloth for polishing
• mosaic tile adhesive for DIY projects.
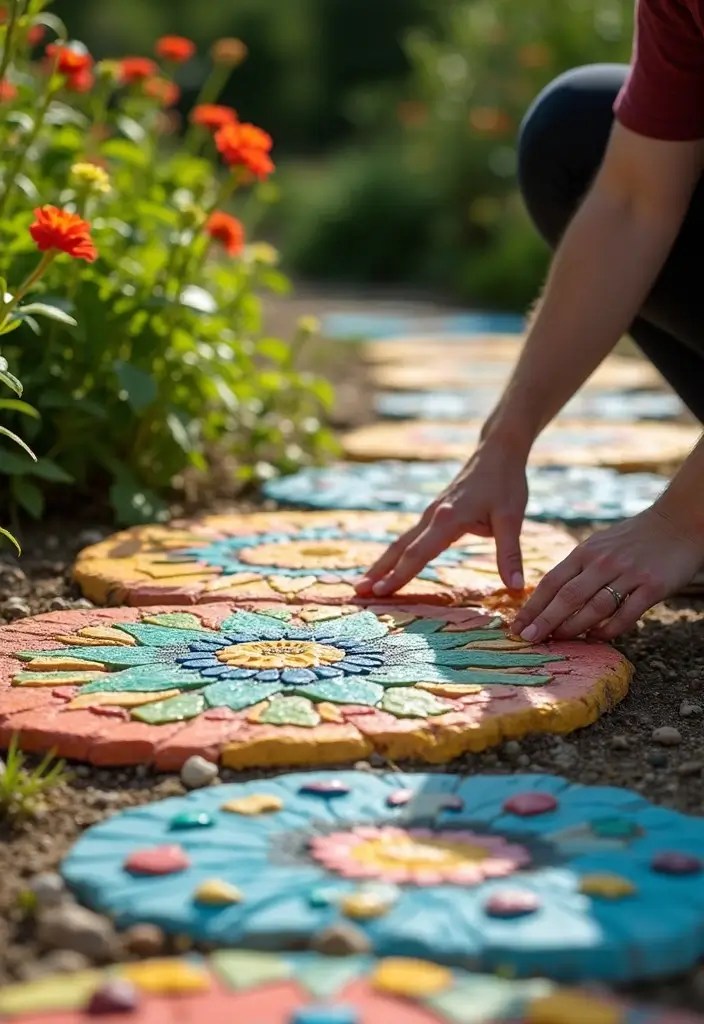
7. Placement and Arrangement
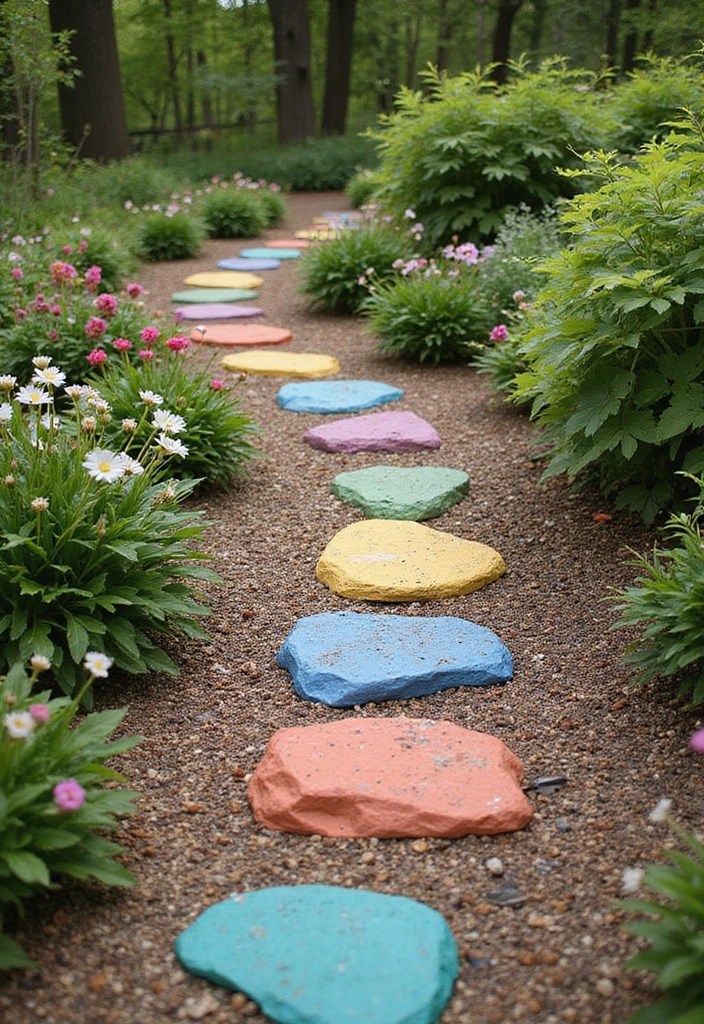
Now that your stepping stones are ready, it’s time to think about placement and arrangement. Start by deciding on a path design that complements your garden layout.
Consider spacing them out evenly; a rule of thumb is about two feet apart, depending on the intended foot traffic. If you want a more whimsical look, try varying the distances or creating a winding path.
Placing them among plants, flowers, or other garden decor can make your path feel seamless and integrated into the landscape.
Use stakes or small flags to mark the spots before placing the stones. This way, you can experiment with different configurations before making it permanent.
Product Recommendations:
• garden path landscaping fabric
8. Adding More Personalization
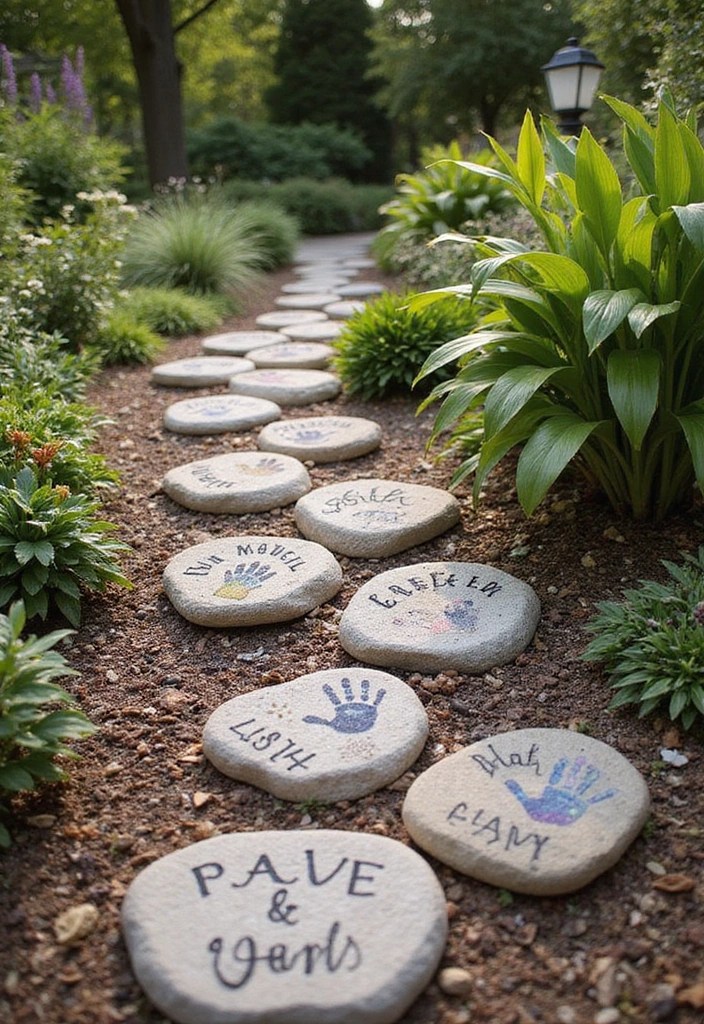
Take your stepping stones to the next level with added personal touches. You can create themed stones that reflect family milestones, such as birthdays, anniversaries, or family names.
Consider incorporating handprints or footprints of family members as a special memento.
You could even create stones that reflect your hobbies or interests, like music notes for a musician or paw prints for pet lovers. Adding these personalized elements will make your garden path uniquely yours, turning it into a cherished walking memory.
Extra tip: Consider using paint to add details or patterns to your stones for a more intricate look.
Product Recommendations:
9. Maintenance Tips
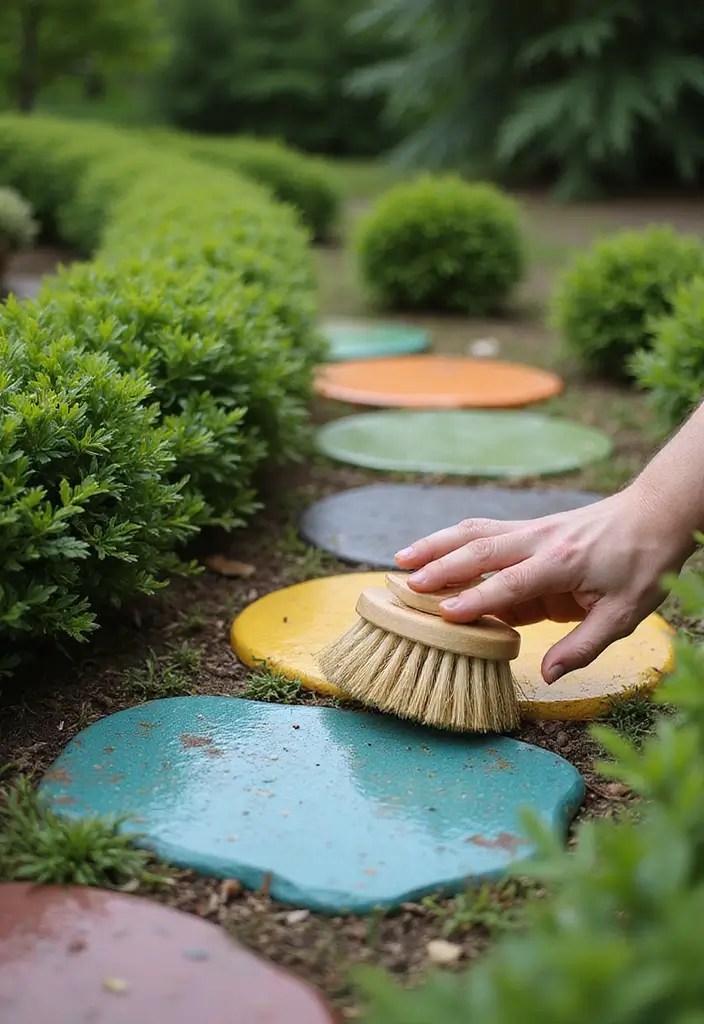
To keep your stepping stones looking great, regular maintenance is key. Periodically check for cracks or wear, especially after harsh weather.
If any stones become damaged, consider repairing them with grout or replacing individual mosaic pieces.
To clean your stepping stones, simply use a soft brush and mild soap to remove dirt and debris. Avoid harsh chemicals that might damage the sealant or colors.
Additionally, if you live in an area with freezing temperatures, make sure to apply a winter sealant to prevent damage from ice. With just a little care, your DIY stepping stones can remain a beautiful feature in your garden for years.
Product Recommendations:
• grout repair kit for mosaics
10. Join the Community of DIY Enthusiasts

After you’ve created your stepping stones, consider sharing your work with others! Join local gardening clubs, online forums, or social media groups where DIY enthusiasts gather.
Sharing your journey not only inspires others but can also provide you with fresh ideas and feedback.
You can host crafting sessions with friends to make this a community project, or even organize a neighborhood garden tour showcasing your beautiful creations.
Connecting with fellow DIYers can enrich your experience and motivate you to take on even more creative projects. Everyone loves a good garden story!
Connect with fellow DIY enthusiasts and watch your creativity blossom! Sharing your DIY garden stepping stones can inspire others and spark fresh ideas in return. Let’s craft a beautiful community together!
Product Recommendations:
Conclusion
Creating DIY mosaic garden stepping stones offers a rewarding blend of artistry and functionality for your garden path.
With a dash of creativity and a bit of effort, your patio can reflect your unique style and charm, inviting family and friends to enjoy the beauty of your outdoor space.
So grab those materials, unleash your imagination, and get started on crafting something truly wonderful!
Frequently Asked Questions
What materials do I need to create DIY mosaic garden stepping stones?
To get started on your DIY mosaic garden stepping stones, you’ll need a few essential materials. Gather concrete mix, water, a mixing container, molds for shaping your stones, and of course, your mosaic pieces like colored tiles, glass, or stones. Don’t forget some tools like a trowel for spreading the concrete and a sponge for smoothing edges! With these items, you’ll be ready to unleash your creativity and personalize your patio path.
How do I choose the right design for my stepping stones?
Choosing the right design for your stepping stones is crucial for adding personality to your garden! Spend some time brainstorming ideas that resonate with you. Consider themes that reflect your hobbies, favorite colors, or even seasonal motifs. You can incorporate natural elements like leaves or flowers to enhance the beauty. Remember, there are no strict rules—feel free to go for a vibrant mosaic or a simple, elegant pattern. What matters is that it represents your unique style!
How long do I need to wait for my stepping stones to cure?
Patience is key when making your DIY garden stepping stones! After placing your mosaic pieces into the wet concrete, you’ll want to let them cure for at least 24 to 48 hours, depending on the manufacturer’s instructions. Covering the molds with plastic wrap can help prevent moisture loss during the curing process. Once they’re fully set, you can remove them from the molds and admire your handiwork—just make sure to give them time to harden properly!
What are some tips for maintaining my mosaic stepping stones?
To keep your DIY mosaic stepping stones looking stunning, regular maintenance is essential! Periodically check for any cracks or wear, especially after heavy rain or snow. If you notice any damage, consider repairing them with a suitable adhesive. Additionally, applying a sealant can protect your mosaics from fading due to sun exposure and moisture. A gentle wash with soapy water can also help keep them clean and vibrant. With a little care, your stepping stones will continue to brighten your patio path for years to come!
Can I personalize my stepping stones for special occasions?
Absolutely! Personalizing your stepping stones for special occasions is a fantastic idea. You can create themed stones to commemorate family milestones like birthdays, anniversaries, or even family names and handprints! Incorporating unique elements, such as special colors or symbols that hold meaning, can make your stones truly one-of-a-kind. This personal touch not only enhances your garden decor but also creates lasting memories right in your outdoor space!
Note: We aim to provide accurate product links, but some may occasionally expire or become unavailable. If this happens, please search directly on Amazon for the product or a suitable alternative.
This post contains Amazon affiliate links, meaning I may earn a small commission if you purchase through my links, at no extra cost to you.

Leave a comment